
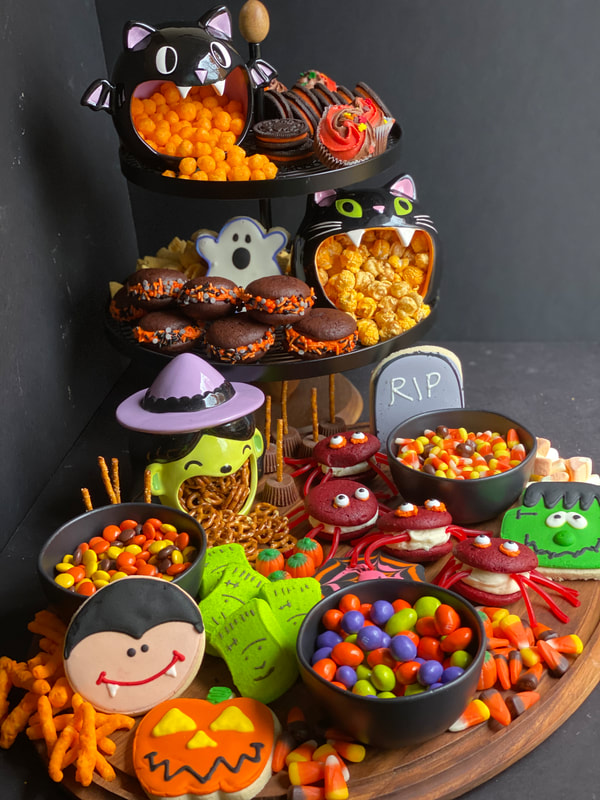
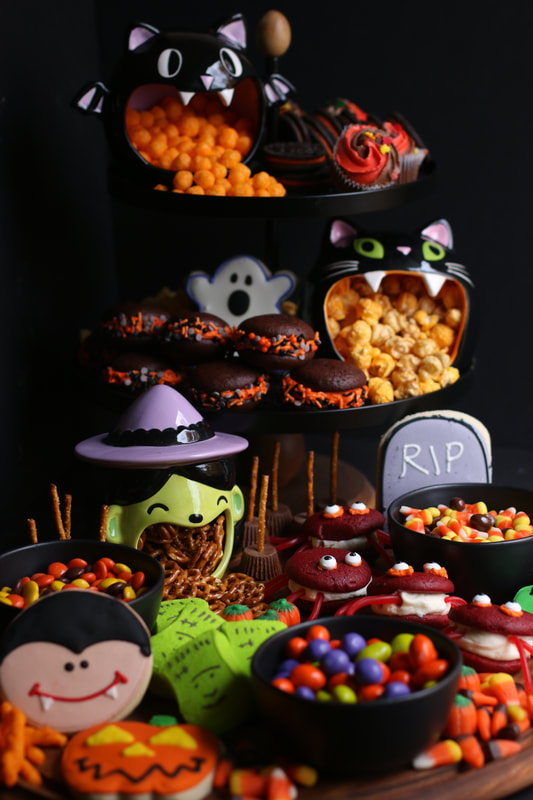
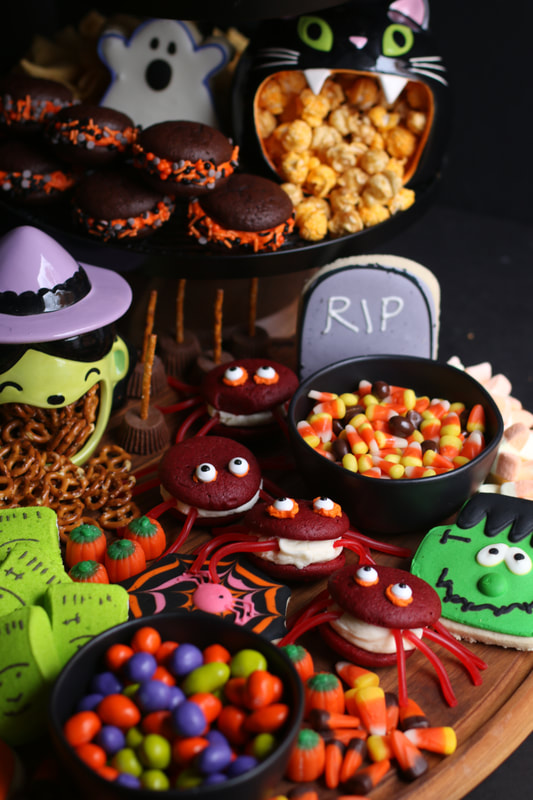
 Halloween candy is a delightful part of the spooky season, and a Halloween “Tower of Terror” Treat Board is a delicious and fun way to share sweet treats at Halloween parties. Unlike a traditional charcuterie or meat & cheese board, this one is all about the treats!
For entertaining a crowd, or just enjoying a quiet night at home with my honey, we have fallen in love with charcuterie boards. A board stuffed with our favorite cheeses, meats, crackers, fresh fruits and vegetables, and a sweet nibble or two - how could you NOT love that? Traditionally, charcuterie boards are made with meats, cheeses, nuts and fruits, but making dessert boards have become some of my favorites to put together with a holiday twist. A sweet treat board is so easy to customize for your favorite holidays or any special dietary restrictions. This Halloween "Tower of Terror" Treat Board has been a hit every year - and only seems to get better every time we make one!
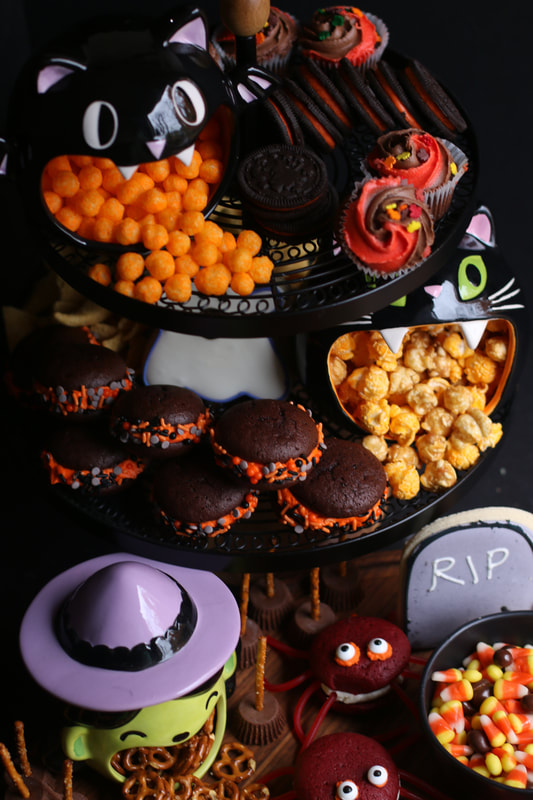
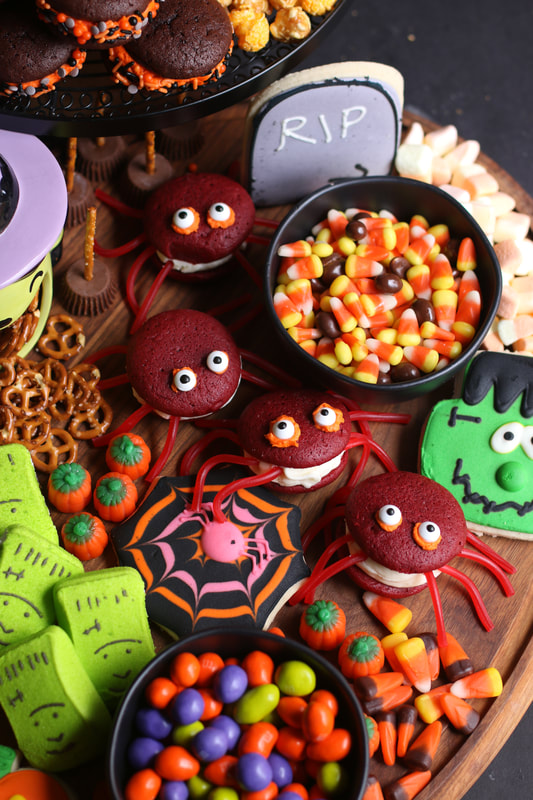
There really isn't a right or wrong way to assemble a charcuterie board. When you are ready to start, take a few minutes to plan out where you want everything to go. You can create texture and movement by assembling the food in patterns or around the perimeter of the boards. Balance your treat board by placing the same kinds of treats on opposite sides of the board. Pick different sizes and shapes of sweet treats so that your board has different flavors, textures and color. You have total control - so if you need to move something around so that it looks better, move it! Also, don't be afraid to pile the candy and sweet treats - they look best when candy and sweet treats are over-flowing, or tumbling from one tiered layer to another. I always try to create as much "swirling motion" as I can when assembling boards and platters.
There are so many things to love about Halloween - pumpkin patches, scary movies, creative costumes, carving pumpkins, and celebrating! Every year since I was a little girl, we have celebrated Halloween with spooky Halloween food, scary decorations, and pumpkin-carving - it's a wonderful tradition that now carries on with my kiddos and grandchildren too! What is your favorite Halloween treat?
INGREDIENTS:
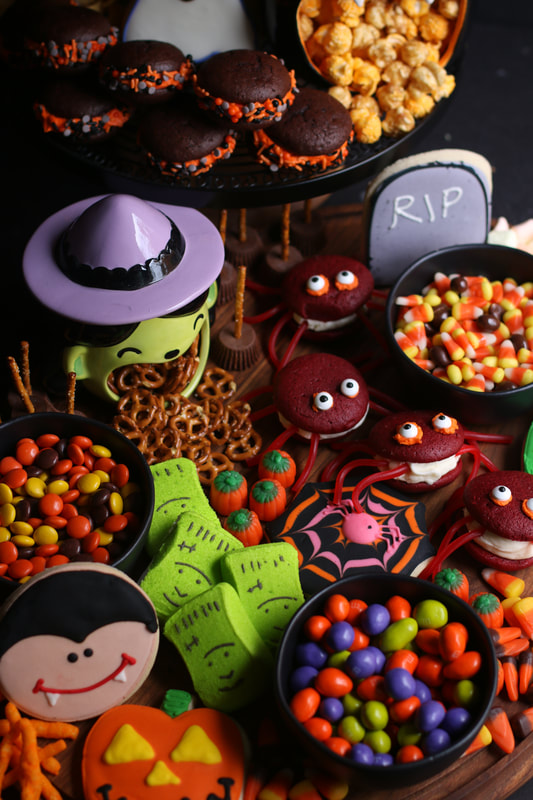
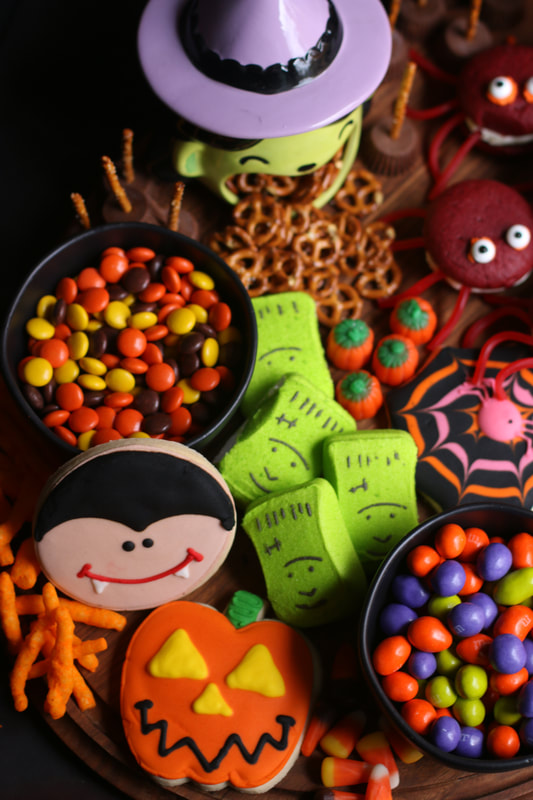
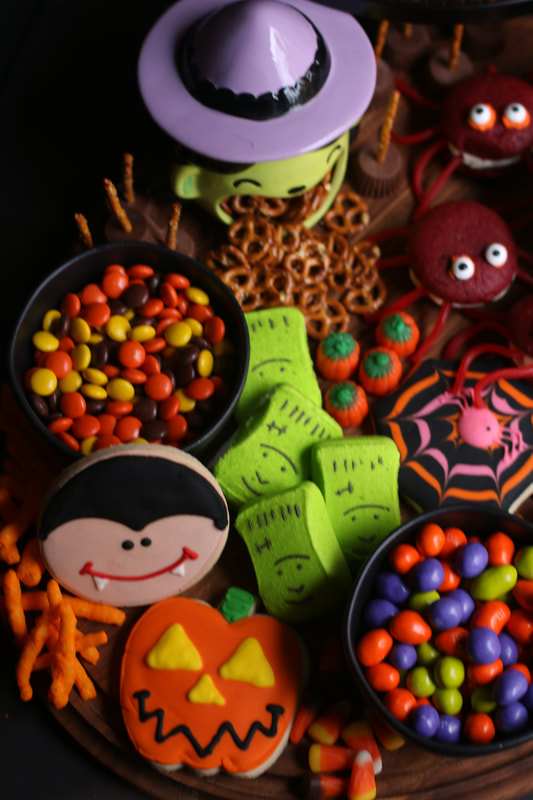
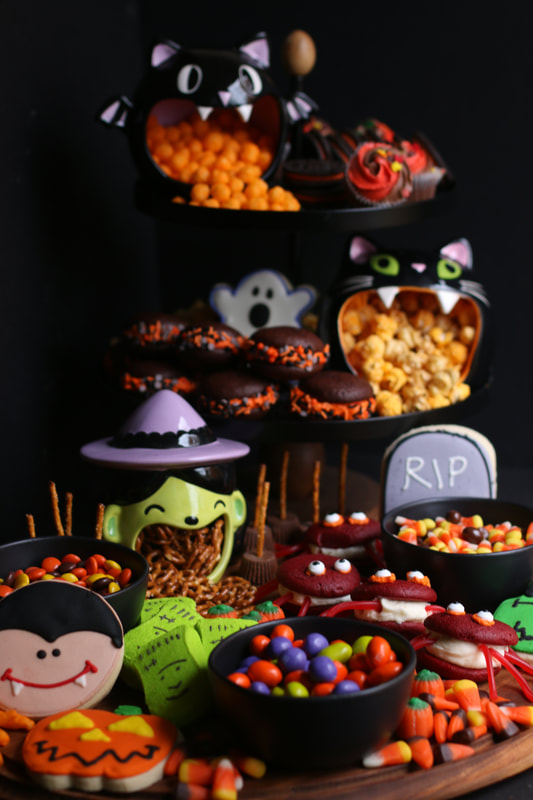
The secret of a great party board is to find fresh flavors and textures that work for you and your family and friends. Mix and match your favorite cheeses, meats, fruits, nuts and condiments for something wonderful and unique every time! For my Halloween “Tower of Terror” Sweet Treat Board here are some great ideas! BAKERY TREATS: a selection of seasonal sweet bakery items, both homemade and picked up from your local bakery, gives you a nice balance and a burst of color. I used some of our Halloween favorites – pick 2 or 3 that work for you:
SALTY TREATS: A selection a few “salty” treats gives your guests some great flavor options!
FRESH FRUITS: a selection of seasonal fruits add fresh flavor and color!
CANDY, NUTS & CHOCOLATES: you can’t go wrong here at all with a selection of 3 or 4. Something simple and something sweet! I used our favorite homemade Halloween sweet treats – you can also pick up fun Halloween candies from the store. I typically don’t include traditional Halloween candy bars, but you certainly can if you want to!
HOW I MAKE THIS: 1. Choose a nice solid cutting board or wooden serving tray to create your platter. Your guests will be taking treats directly from the board so be sure to use something sturdy. 2. If you don’t have enough room on your platter or for a large party, place some of your treat selection on a tiered tray that can either be placed directly on the board or off to the side. 3. Place a few small bowls or ceramic Halloween dishes on your board/tiered tray to hold small items or to create interesting spaces. 4. Wash and pat the fresh fruit dry; add fresh and dried fruits for color. If you’re serving fresh apple slices, soak them in Sprite or Seven-Up and pat dry so that they don’t turn brown. 5. If you serve small candies, place them in tiny bowls so that they don’t roll around and flavor other platter ingredients. 6. Add small tongs and small spoons next to the board along with appetizer plates and napkins. 7. Start with small amounts of each item – you can always refresh your platter as time goes by! YIELD: Perfect for a crowd! © SnowflakesandCoffeecakes. All images, attachments & content are copyright protected. All rights reserved. Please do not use my images without prior permission. If you want to republish this recipe, please re-write the recipe in your own words, or link back to www.snowflakesandcoffeecakes.com for the recipe.
1 Comment
|

WELCOME!HI, I’M MAMA V! I'm so happy you stopped by to visit this delicious corner of the internet! This is the place to find family favorite and kitchen-tested quality recipes, along with photographs and tips to give you the confidence to cook and bake from scratch.
You'll find a complete recipe index on the Recipe Collection page or you can use the Recipe Collection dropdown feature to see a visual recipe index by category. If you are looking for something special, the Search function will easily locate your favorite recipe or ingredients. Enjoy - and stop by often! LOOKING FOR SOMETHING SPECIAL?Type in the name of recipe, category or any ingredient to search my recipe database. LET'S CONNECT!Never miss a recipe! Please click to follow me on:
google0c2f49157236fe49
|

 RSS Feed
Copyright Statement© Snowflakes & Coffeecakes 2024. All rights reserved.
All images & content are copyright protected. Please do not use any of my images without prior permission. Unauthorized use and/or duplication of this material without express and written permission from this site’s owner is strictly prohibited. Thank you for visiting! I hope that you enjoyed your stay, and have found some recipes that your family will enjoy! Have any questions or comments? Feel free to contact me! Bon Appétit, Mama V |

|