|
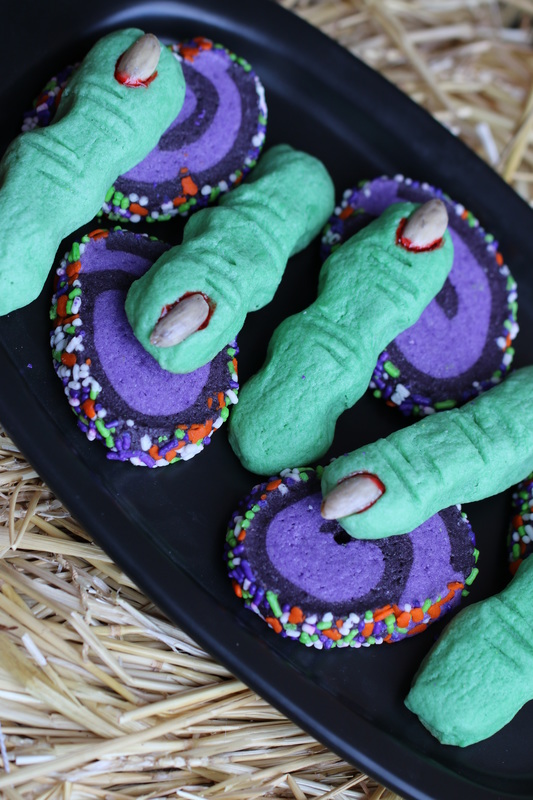
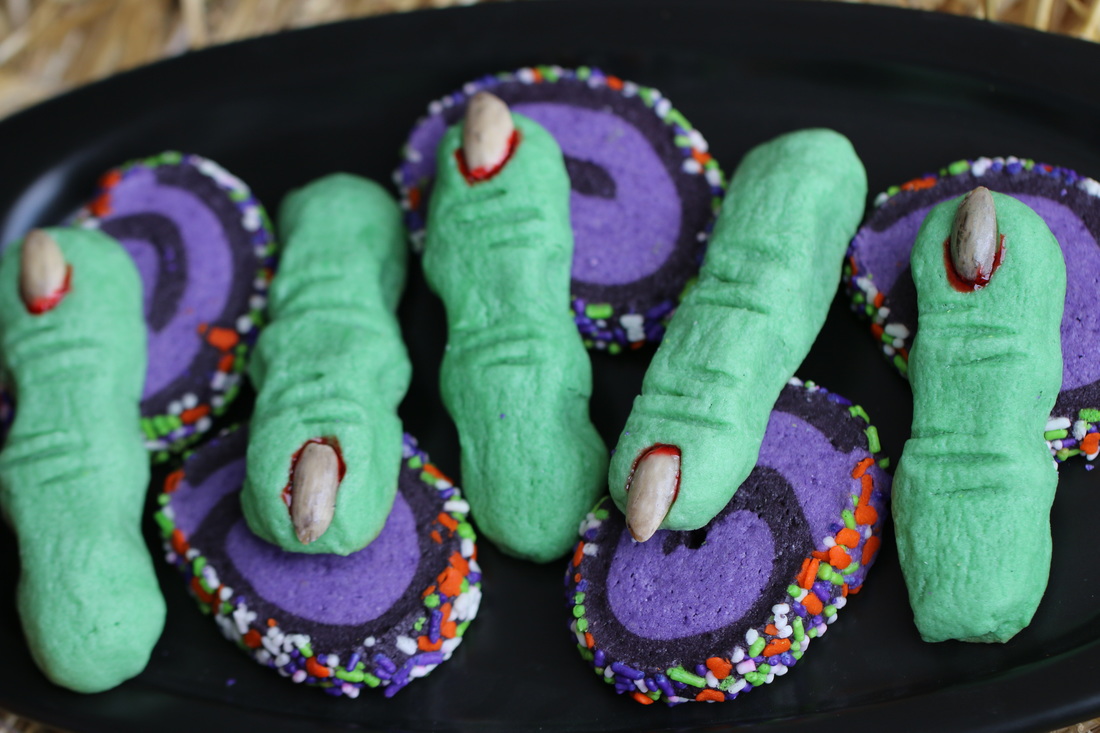
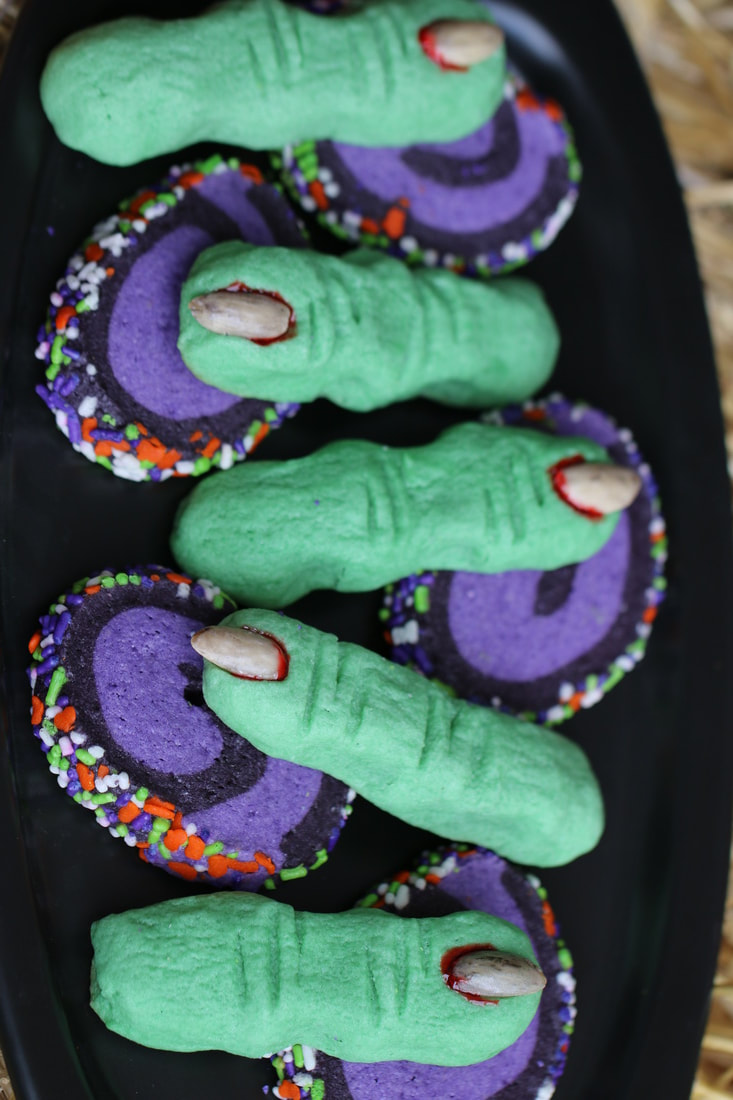
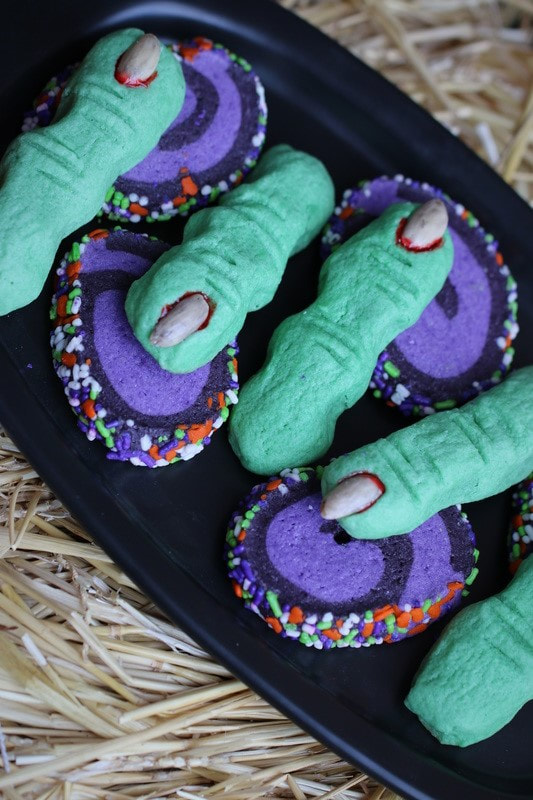
It's hard to put your finger on what exactly is the best part of Halloween...but these Halloween Witch Finger Cookies are a great place to start! Tender shortbread with the lightest taste of vanilla and almond, and a CRUNCHY fingernail - what could be more fun? Spectacularly spooky, delightfully green - as tasty as they are creepy! These take a little bit of time to put together - and are the perfect baking adventure to share with the kids. They have so much fun shaping the tender shortbread, adding the oozy "blood", and watching them bake up in the oven. We make these ahead of time and freeze for party time. Hope you enjoy our creepy cookies as much as we do!
INGREDIENTS:
1 cup unsalted butter (softened) 1 cup powdered sugar 1 large egg (room temperature) 1 teaspoon pure almond extract 1 teaspoon pure vanilla extract 2 3/4 cups all-purpose flour 1 teaspoon baking powder 1 teaspoon salt 3/4 cup whole blanched almonds green food coloring red decorator gel or raspberry jam sliced almonds or blanched whole almonds (one for each cookie) HOW I MAKE THESE: 1. Remove butter and egg from refrigerator to soften to room temperature. 2. In a medium bowl, beat together butter, sugar, egg, almond and vanilla extract until well blended. Add flour, baking powder and salt and beat just until blended. Add a few drops of green food coloring. 3. Cover dough tightly with plastic wrap and refrigerate for at least 1 hour. 4. Preheat oven to 325 degrees. Line baking sheet with parchment paper. 5. Scoop out dough and roll into 1-inch diameter balls. Then roll each ball into 3-inch long “fingers”. Place the fingers on the prepared baking sheets about 2 inches apart. 6. Using the dull side of a knife, make 3 parallel marks midway down the finger to look like a knuckle. Pinch in the dough above and below the knuckle to give the finger some shape. 7. Press an almond firmly onto one end for the nail. 8. Because the dough will get warm after working with it, pop the baking sheet in the fridge or freezer to chill for at least 15 minutes before baking – this will keep them from spreading when they are baked. 9. Bake chilled cookies in preheated oven for 15-20 minutes or until pale golden. Remove from oven and allow to cool on pan for 5 minutes. 10. Lift up almond; squeeze red decorator gel or raspberry jam onto nail bed and press almond back into place, so red oozes out from underneath. 11. Let cool completely so that the almond will adhere to the cookie. YIELD: Makes about 3 dozen cookies. Originally Posted October 2014; revised and reposted October 2019 © SnowflakesandCoffeecakes. All images, attachments & content are copyright protected and all rights reserved. Please do not use my images without prior permission. If you want to republish this recipe, please link back to www.snowflakesandcoffeecakes.com for the recipe.
0 Comments
Leave a Reply. |
WELCOME!HI, I’M MAMA V! I'm so happy you stopped by to visit this delicious corner of the internet! This is the place to find family favorite and kitchen-tested quality recipes, along with photographs and tips to give you the confidence to cook and bake from scratch.
You'll find a complete recipe index on the Recipe Collection page or you can use the Recipe Collection dropdown feature to see a visual recipe index by category. If you are looking for something special, the Search function will easily locate your favorite recipe or ingredients. Enjoy - and stop by often! LOOKING FOR SOMETHING SPECIAL?Type in the name of recipe, category or any ingredient to search my recipe database. This website uses marketing and tracking technologies. Opting out of this will opt you out of all cookies, except for those needed to run the website. Note that some products may not work as well without tracking cookies. Opt Out of Cookiesgoogle0c2f49157236fe49
|
- Welcome
- Blog
- About
-
Recipe Collection
- Appetizers & Charcuterie Boards
- Bakery & Sweet Shop >
- Beverages
- Breakfast & Brunch >
- Fruits >
- The Main Event >
- Salads
- Sauces, Spices & Glazes
- Side Dishes
- Vegetables
-
Holidays & Special Celebrations
>
- Sleighrides & Cocoa Parties
- Valentines
- Mardi Gras
- St. Patrick's Day
- Easter
- Cinco de Mayo
- Kentucky Derby
- Garden Teas
- Patriotic
- Fathers' Day
- Halloween
- Football & SuperBowl
- Thanksgiving
- Christmas Traditions >
- New Year Celebration
- Baby Showers
- Bridal Showers & Weddings
- Birthday Parties
- Rehearsal Dinners & Day-After-Brunches
- Seasonal Favorites >
- Cooking School
- GARDENING
- Contact
Copyright Statement© Snowflakes & Coffeecakes 2024. All rights reserved.
All images & content are copyright protected. Please do not use any of my images without prior permission. Unauthorized use and/or duplication of this material without express and written permission from this site’s owner is strictly prohibited. Thank you for visiting! I hope that you enjoyed your stay, and have found some recipes that your family will enjoy! Have any questions or comments? Feel free to contact me! Bon Appétit, Mama V |



 RSS Feed

