
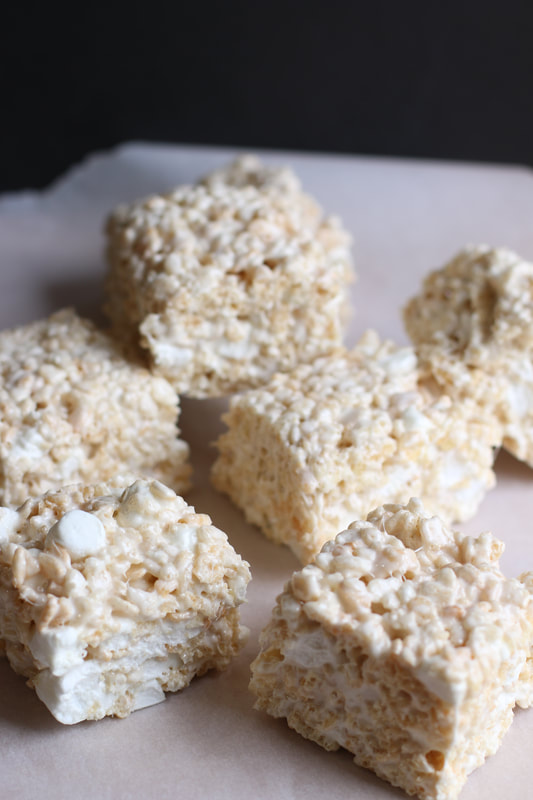
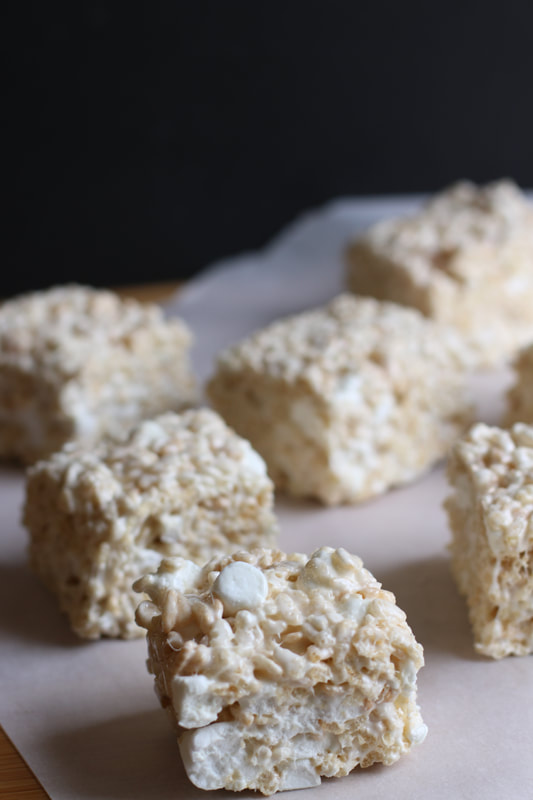
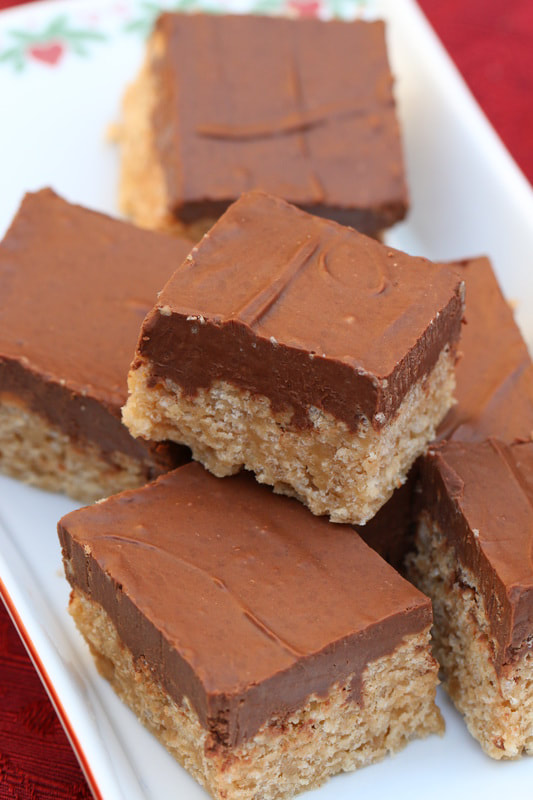
 Ultimate Rice Krispies Treats What exactly are the best Rice Krispies Treats? That's always the big debate at our house. Some of my kids love traditional marshmallow-based treats, and others prefer Krispie Bars, which are sometimes referred to as "Scotcheroos". This family-favorite recipe makes the BEST Rice Krispie Treats ever - bakery-style, super thick, soft and gooey, with extra marshmallows in every bite - the Ultimate Rice Krispie Bars! 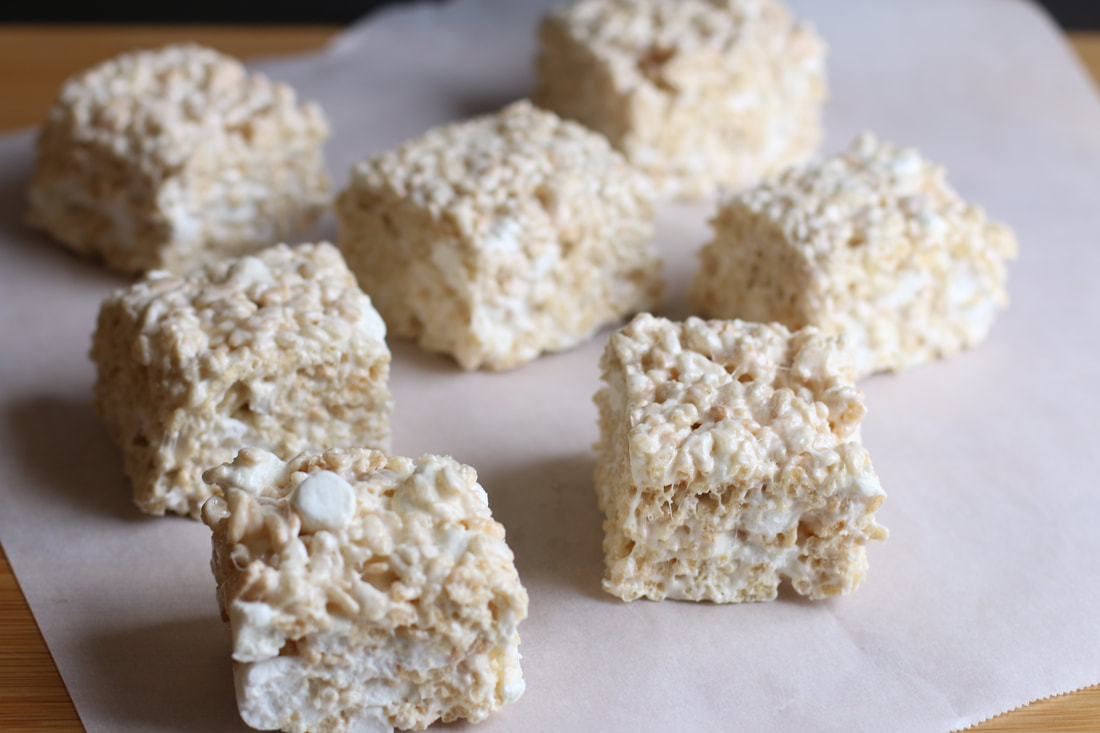 Bakery-Style Rice Krispies Treats These homemade treats are not to be confused with the pre-packaged treats that you buy at the grocery store. They are too fresh and flavorful! And so thick - a full two-inches of soft marshmallow ooey gooey treats! Once you've made these at home, you'll never buy pre-packaged treats, or pay over-the-top prices for simple Rice Krispie bars from the bakery. FIVE SIMPLE INGREDIENTS.
IS THIS RECIPE BETTER THAN THE ONE ON THE PACKAGE?Ahhhh….absolutely! Butter, pure vanilla and the tiniest bit of kosher salt take these to the next level! LOTS of melted marshmallow, and extra mini-marshmallows stirred in at the end make these the most marshmallowey treats ever! Once you've tried one, you'll never go back. Promise! RECIPE TRICKS
 Ultimate Rice Krispies Treats
INGREDIENTS:
10 tablespoons unsalted butter 20 cups mini marshmallows (divided) 1 teaspoon pure vanilla extract ½ teaspoon kosher salt 12 cups Rice Krispies cereal HOW I MAKE THESE: 1. Line a 9x13-inch pan with parchment paper or foil (with overhang on all sides of pan); spray with non-stick cooking spray; set aside. 2. In a large non-stick stockpot or Dutch oven, melt the butter and 16 cups (680g) of mini marshmallows over low heat, stirring occasionally, just until the marshmallows are melted. Remove pan from heat. Stir in the vanilla extract and salt. 3. With a wooden spoon, stir in the Rice Krispies and mix until the cereal is evenly coated. 4. With a wooden spoon, stir in the remaining 4 cups mini marshmallows. 5. Pour the mixture into the prepared pan as evenly as you can. Spray the bottom of a large spatula with non-stick spray and press the mixture firmly into an even layer. 6. Keep at room temperature for an hour. Using the edges of the parchment paper or foil, pullup and remove the treats from the pan. 7. Spray a large knife with non-stick cooking spray and cut treats into 24 large squares. 8. Store in an airtight container at room temperature, or wrap individually in plastic wrap for easy individual servings! YIELD: 24 bars NOTES:
Originally posted August 2010; revised & reposted February 2019. © SnowflakesandCoffeecakes. All images, attachments & content are copyright protected. All rights reserved. Please do not use my images without prior permission. If you want to republish this recipe, please re-write the recipe in your own words, or link back to www.snowflakesandcoffeecakes.com for the recipe. You may also like...
1 Comment
|


WELCOME!HI, I’M MAMA V! I'm so happy you stopped by to visit this delicious corner of the internet! This is the place to find family favorite and kitchen-tested quality recipes, along with photographs and tips to give you the confidence to cook and bake from scratch.
You'll find a complete recipe index on the Recipe Collection page or you can use the Recipe Collection dropdown feature to see a visual recipe index by category. If you are looking for something special, the Search function will easily locate your favorite recipe or ingredients. Enjoy - and stop by often! LOOKING FOR SOMETHING SPECIAL?Type in the name of recipe, category or any ingredient to search my recipe database. LET'S CONNECT!Never miss a recipe! Please click to follow me on:
google0c2f49157236fe49
|

 RSS Feed
Copyright Statement© Snowflakes & Coffeecakes 2024. All rights reserved.
All images & content are copyright protected. Please do not use any of my images without prior permission. Unauthorized use and/or duplication of this material without express and written permission from this site’s owner is strictly prohibited. Thank you for visiting! I hope that you enjoyed your stay, and have found some recipes that your family will enjoy! Have any questions or comments? Feel free to contact me! Bon Appétit, Mama V |

|