|
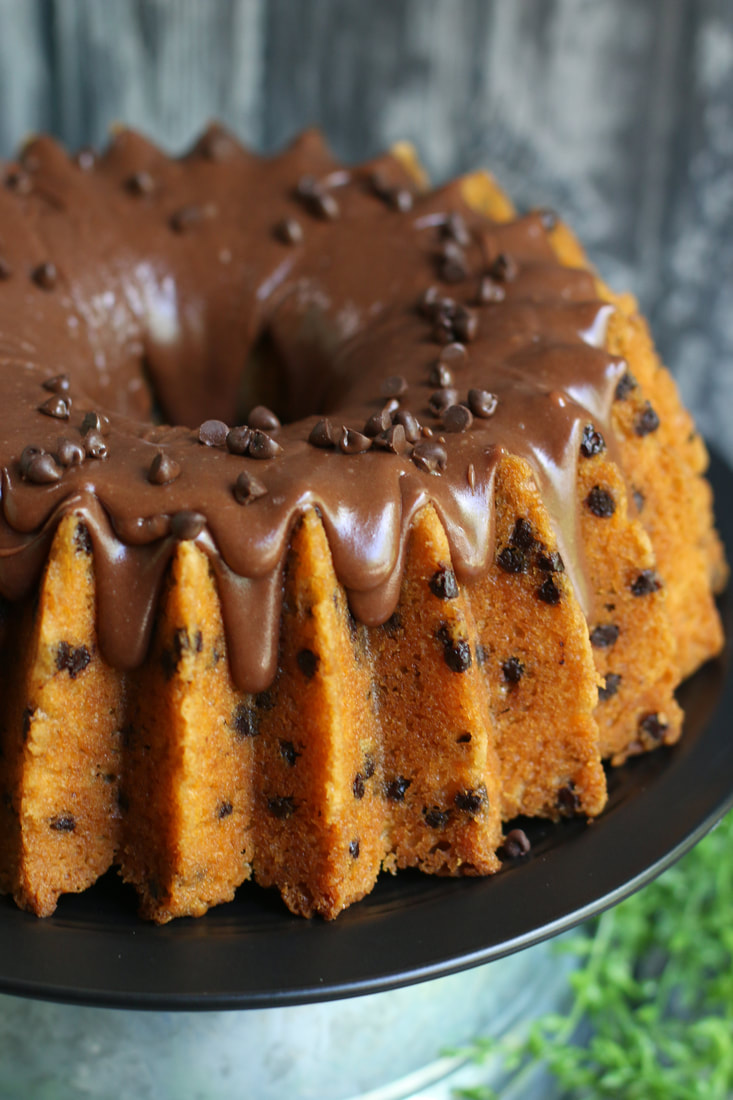
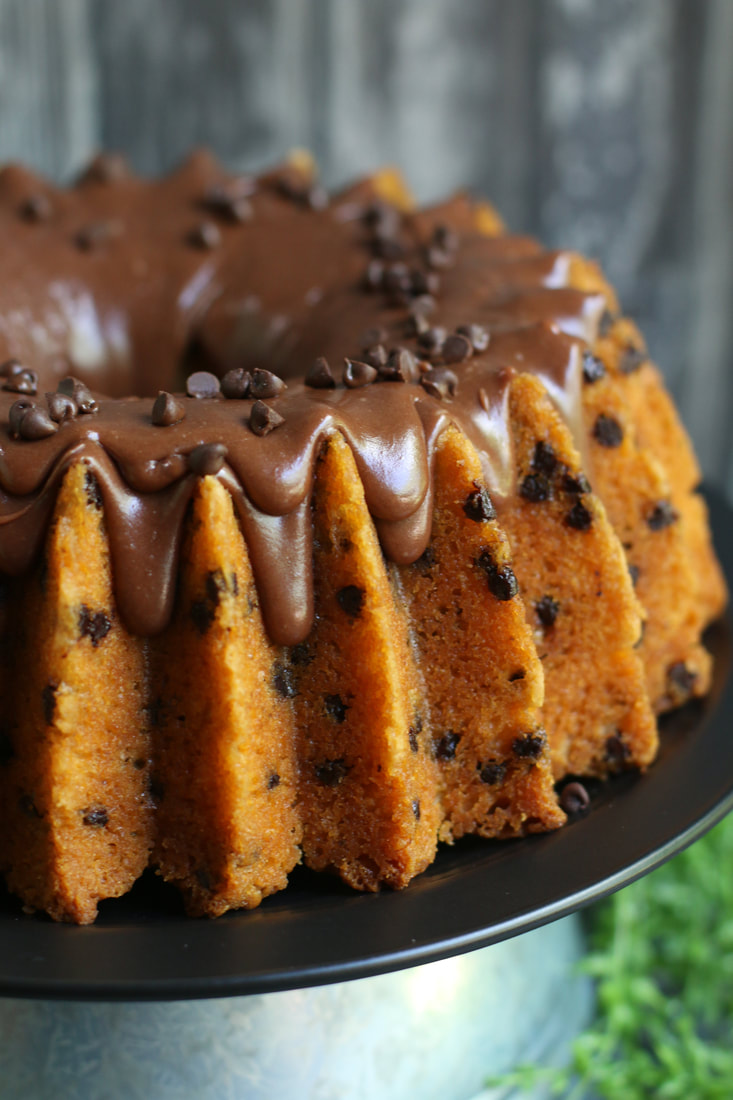
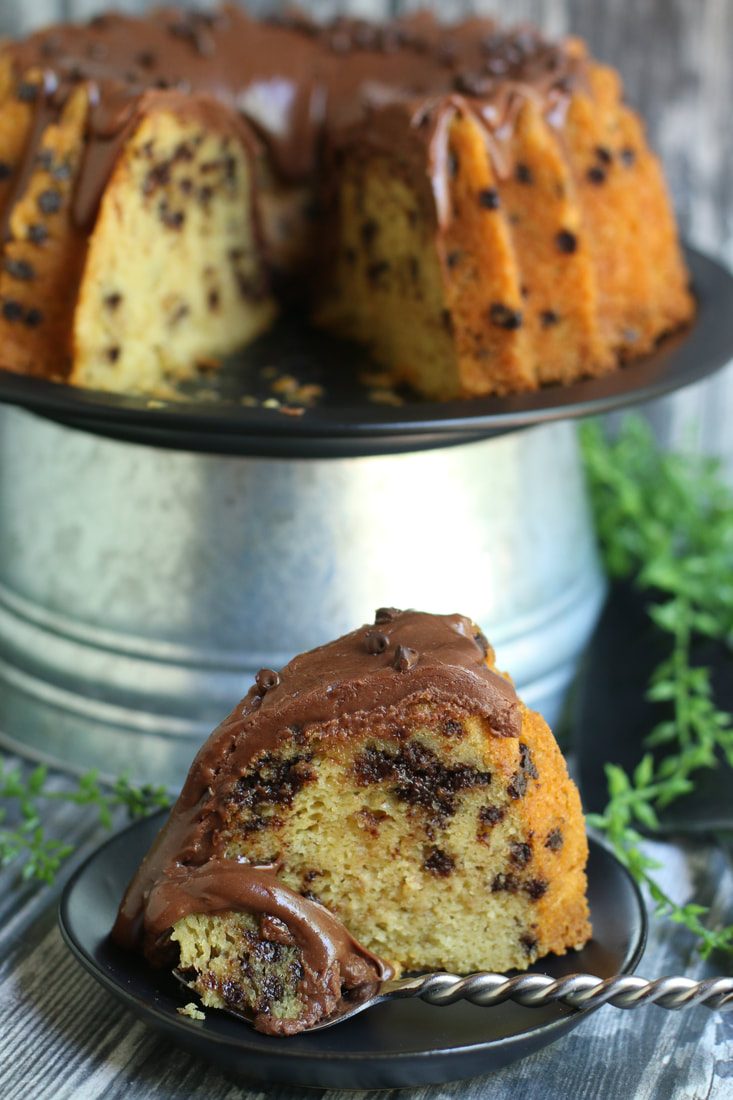
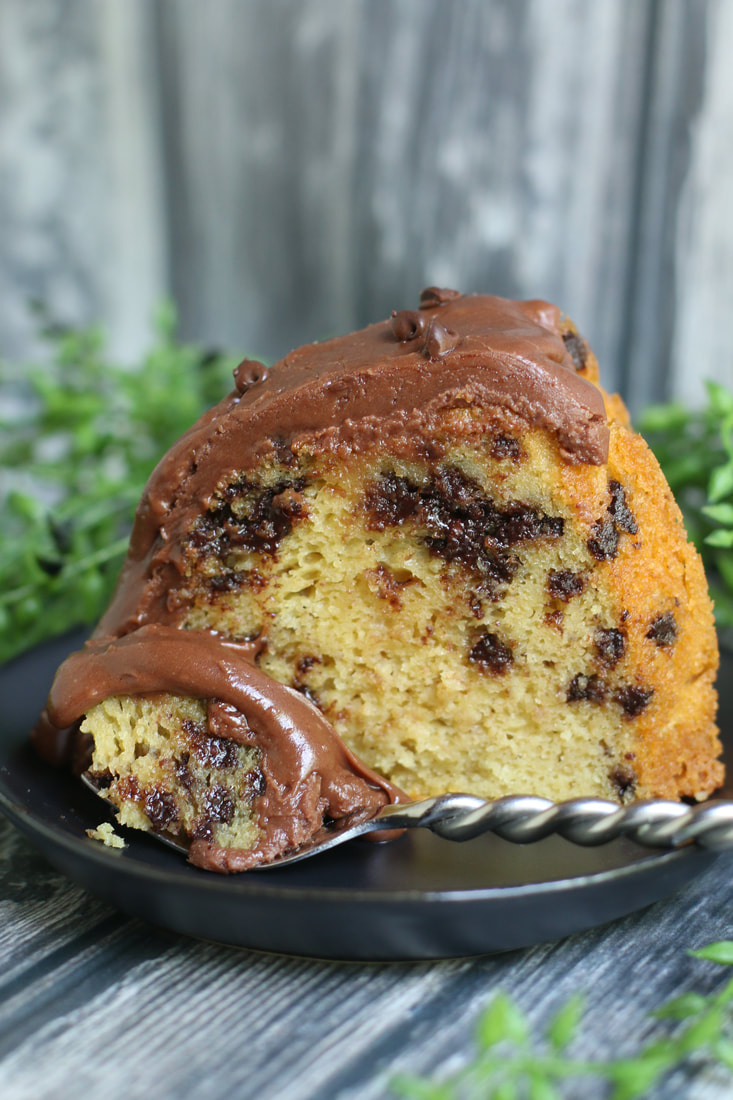
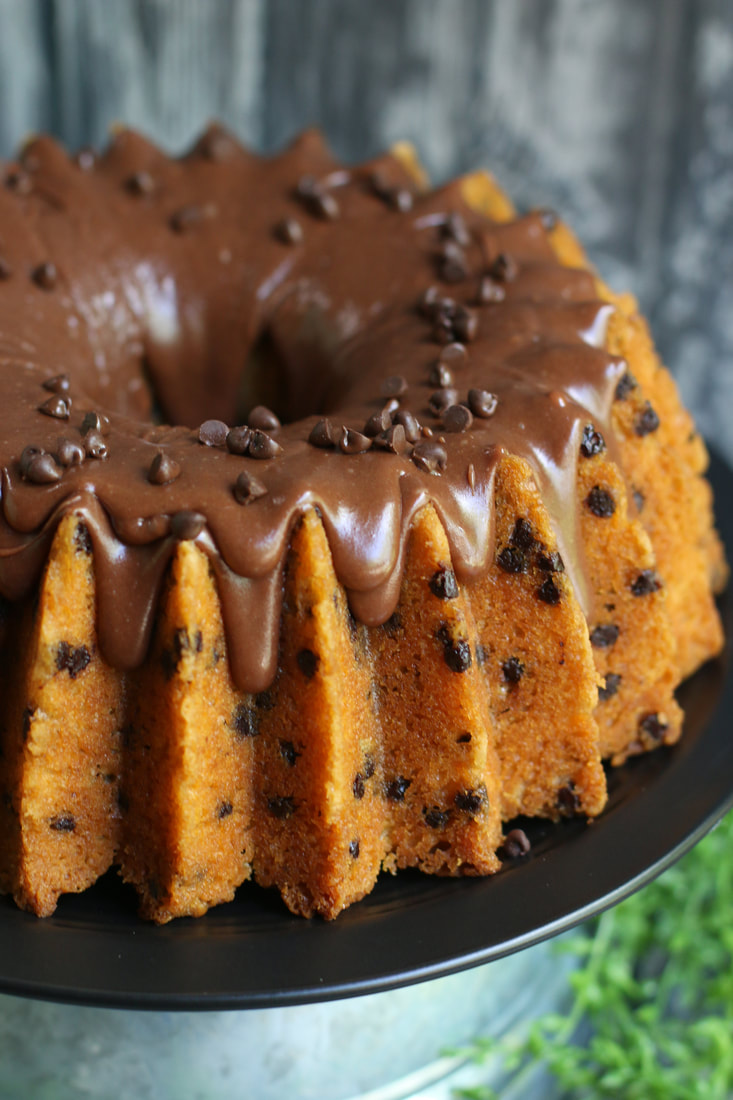
What’s better than Banana Bread or Banana Cake? This easy recipe combines the two into a moist and flavorful Banana Chocolate Chip Bundt Cake, studded with tiny bits of chocolate chips, and drizzled with silky chocolate ganache. One of the best bundt cakes you will ever have, and perfect for everyday or special occasions! Homemade cakes don't always have to be started from scratch...there are times when a few shortcuts can make your life a whole lot easier, and there is nothing simpler than this fabulously moist and flavorful cake - always a crowd pleaser and one of my most frequently requested recipes! There are so many different bundt pans available - being a Minnesota girl, it has got to be Nordic Ware pans for me! There are so many unique and different pans to choose from - whether you choose a classic bundt style, or fancy-swirled bundt pans, special occasion pans, or even mini-bundt cakelettes - they are always so cute, and I never have an issue with them cracking or not releasing in one piece, if you know the secret! As with any cake, you'll need to adjust your baking time for differences in oven temps and pan sizes. If they start to get too dark before they have finished baking in the middle, simply tent the top of the pan with aluminum foil so that the moisture can escape while baking, and continue slowly baking until a knife inserted in the middle comes out clean. Some bakers love homemade "goop" for pan release (made simply by combining equal amounts of shortening, vegetable oil and flour and then smearing in all the pan crevices. It works, but not always! For consistent results, I spray my bundt pans with Baker's Non-Stick Spray immediately before pouring the batter in the pan. Spray the pan too early, and the spray will slide to the bottom of the pan. The baker's formula contains flour - the regular non-stick spray does not, so it doesn't release baked goods easily from the pan and cake create a goofy texture on the outside of your cake. BUNDT CAKE SECRETS:I love a cake that is easy to throw together, easy to bake, and always fabulous. I bake my bundt cakes at 350 for 15 minutes, which helps get the highest rise in your cake. I then reduce the oven temp to 325 and continue baking until golden. This tends to keep my bundt cakes moister and more flavorful. After removing from the oven, I let them sit and cool for 10 minutes, and then invert the cake onto a serving platter. Tap the bottom and sides of the pan with your oven mitt and it should release quickly and easily. Cool for about half and hour, and then wrap your cake in plastic wrap until you are ready to glaze it. This extra step keeps the cake SUPER moist! And like most bundt cakes, this one gets better day by day - it's actually better if you make it the day before you plan to serve, and who doesn't like the convenience of that? You can also glaze this homemade Banana Chocolate Chip Bundt Cake with Nutella, or milk chocolate ganache, or even a peanut butter glaze. So many choices, and every one of them delicious!
INGREDIENTS:
Banana Chocolate Chip Bundt Cake: 1 pkg. banana cake mix 1 (3.4 oz.) package instant banana pudding 1 cup sour cream (room temperature) 4 large eggs (room temperature) ½ cup vegetable oil ½ cup water (room temperature) 1 teaspoon Rodelle Pure Vanilla extract 1 cup mini chocolate chips Chocolate Ganache: 8 ounces semisweet chocolate (I use Ghirardelli Dark or Semi-Sweet Chocolate) 3/4 cup heavy cream HOW I MAKE THIS: 1. Preheat oven to 350 degrees*. Generously grease and flour a 10-cup bundt pan or spray with baking non-stick spray; set aside. 2. Make the Cake: In the bowl of your stand mixer fitted with a paddle attachment, combine the cake mix, pudding, sour cream, eggs, water, oil, and vanilla extract. Mix on low speed just until ingredients are blended, and then increase speed to medium and continue blending for 3 minutes. Fold in mini chocolate chips. 3. Pour the cake batter evenly into the prepared bundt pan, smoothing the top gently. 4. Bake for 15 minutes, then reduce heat to 325 degrees and continue baking for 30-40 minutes until the cake is set and a knife inserted comes out clean. Remove from oven. Let cool for 10 minutes. Invert cake onto a serving platter, place your hand in an oven mitt and tap all around the bottom of the pan until the cake releases completely. Cool for an additional 30 minutes at room temperature. I recommend covering the cake with plastic wrap at this point and placing in the refrigerator overnight or until you are ready to frost it – this will seal in the moisture! 5. Make the Chocolate Ganache: Chop the chocolate bars into small pieces. Place the chocolate in a small heatproof bowl. Place the cream in a small saucepan over medium heat and bring to a low simmer (small bubbles around the edge of the pan), stirring occasionally. Immediately pour the cream over the chocolate. Swirl the bowl to ensure that all of the chocolate is coated with the cream. Cover your bowl and leave it undisturbed for 5 minutes. After 5 minutes, remove the cover and begin to slowly whisk the mixture, starting with small circles in the middle and working your way outward until you have a smooth, glossy frosting. Let cool at room temperature for at least 30 minutes. 6. Place the cake on a serving platter and pour the ganache evenly over the top of the cake. Add sprinkles or additional mini-chocolate chips if you would like! The cake can be kept, covered, at room temperature for up to 5 days. YIELD: 16 servings NOTES: · This cake is even better after it has had time to chill in fridge for a day. Bake it one day, enjoy it the next – the cake is moister and more flavorful the day after you bake it! · You can make the ganache in advance; store covered at room temperature. If it thickens too much to drizzle, place the bowl over a pan of simmering water and stir until desired consistency is reached. · The cake can also be served warm and sprinkled with powdered sugar rather than drizzling with Chocolate Ganache. Originally posted June 2012, Revised and Reposted July 2019. © SnowflakesandCoffeecakes. All images, attachments & content are copyright protected unless otherwise indicated. All rights reserved. Please do not use my images without prior permission. If you want to republish this recipe, please re-write the recipe in your own words, or link back to www.snowflakesandcoffeecakes.com for the recipe. YOU MAY ALSO LIKE...
1 Comment
Lauren
7/26/2019 03:28:15 pm
Thank you Mama V! This is one of my favorites!
Reply
Leave a Reply. |
WELCOME!HI, I’M MAMA V! I'm so happy you stopped by to visit this delicious corner of the internet! This is the place to find family favorite and kitchen-tested quality recipes, along with photographs and tips to give you the confidence to cook and bake from scratch.
You'll find a complete recipe index on the Recipe Collection page or you can use the Recipe Collection dropdown feature to see a visual recipe index by category. If you are looking for something special, the Search function will easily locate your favorite recipe or ingredients. Enjoy - and stop by often! LOOKING FOR SOMETHING SPECIAL?Type in the name of recipe, category or any ingredient to search my recipe database. This website uses marketing and tracking technologies. Opting out of this will opt you out of all cookies, except for those needed to run the website. Note that some products may not work as well without tracking cookies. Opt Out of Cookiesgoogle0c2f49157236fe49
|
- Welcome
- Blog
- About
-
Recipe Collection
- Appetizers & Charcuterie Boards
- Bakery & Sweet Shop >
- Beverages
- Breakfast & Brunch >
- Fruits >
- The Main Event >
- Salads
- Sauces, Spices & Glazes
- Side Dishes
- Vegetables
-
Holidays & Special Celebrations
>
- Sleighrides & Cocoa Parties
- Valentines
- Mardi Gras
- St. Patrick's Day
- Easter
- Cinco de Mayo
- Kentucky Derby
- Garden Teas
- Patriotic
- Fathers' Day
- Halloween
- Football & SuperBowl
- Thanksgiving
- Christmas Traditions >
- New Year Celebration
- Baby Showers
- Bridal Showers & Weddings
- Birthday Parties
- Rehearsal Dinners & Day-After-Brunches
- Seasonal Favorites >
- Cooking School
- GARDENING
- Contact
Copyright Statement© Snowflakes & Coffeecakes 2024. All rights reserved.
All images & content are copyright protected. Please do not use any of my images without prior permission. Unauthorized use and/or duplication of this material without express and written permission from this site’s owner is strictly prohibited. Thank you for visiting! I hope that you enjoyed your stay, and have found some recipes that your family will enjoy! Have any questions or comments? Feel free to contact me! Bon Appétit, Mama V |




 RSS Feed

