
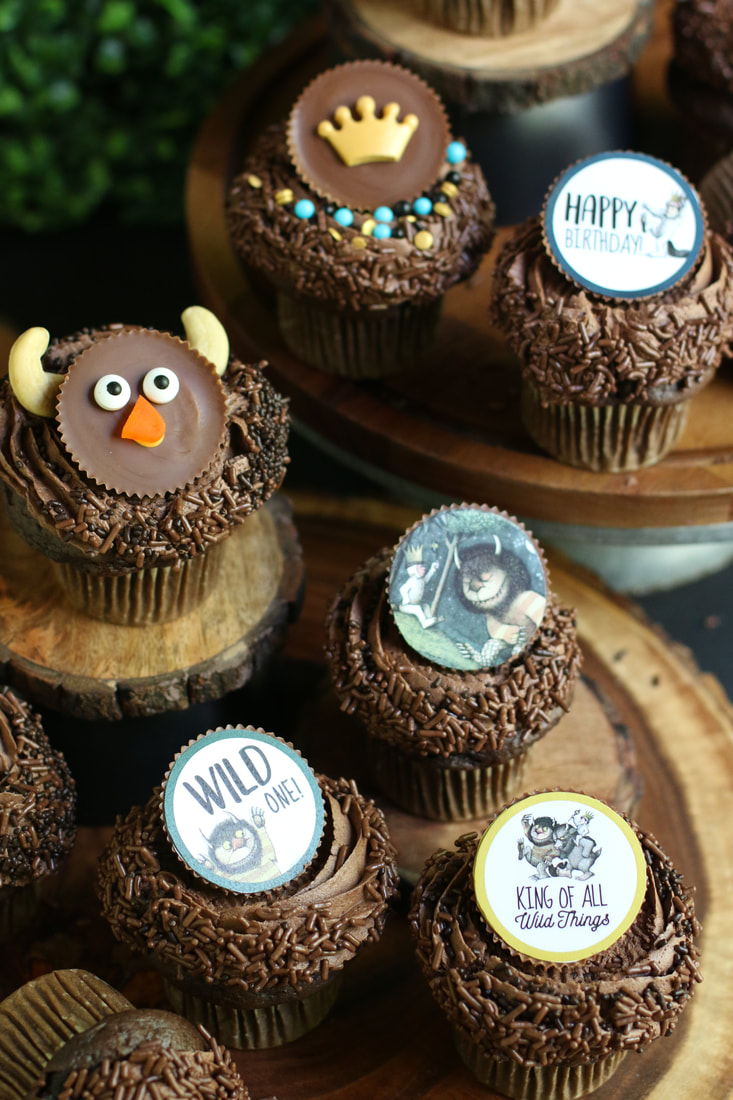
 We had a special little guy celebrating his first birthday - a "WHERE THE WILD THINGS ARE" first birthday party to be specific! This grandma was in charge of sweets and treats - and I had so much fun putting together Wild One sugar cookies and cupcakes for the celebration! 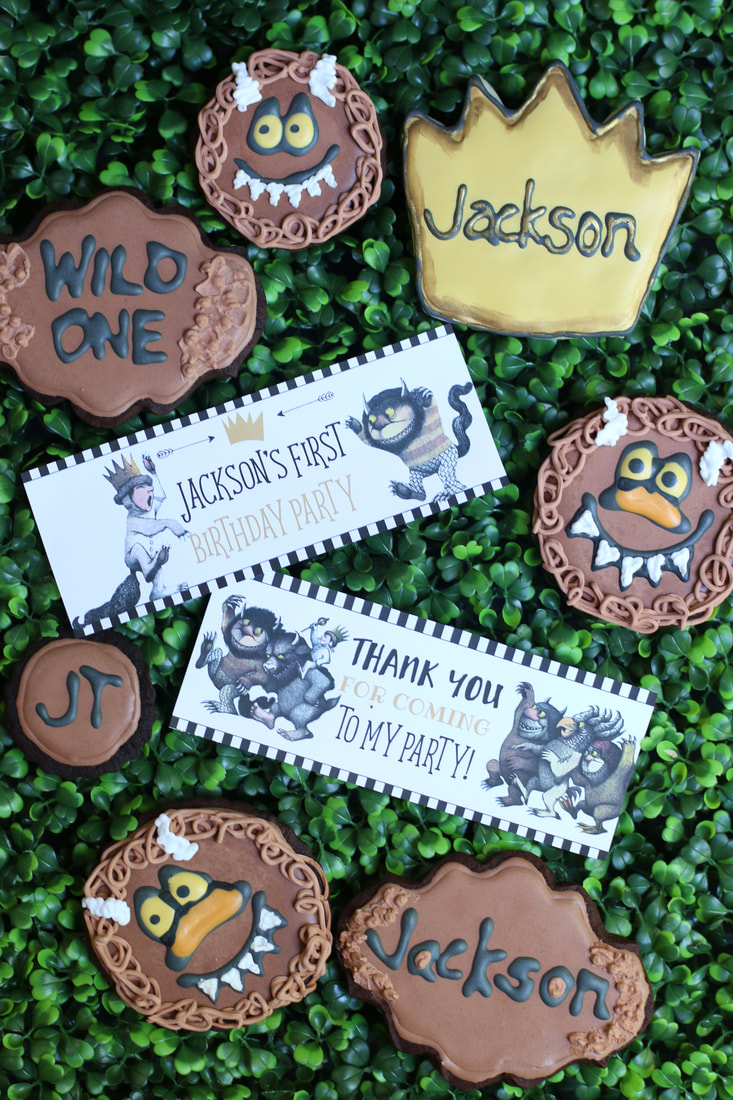 OLD-FASHIONED SUGAR COOKIES & |
 | 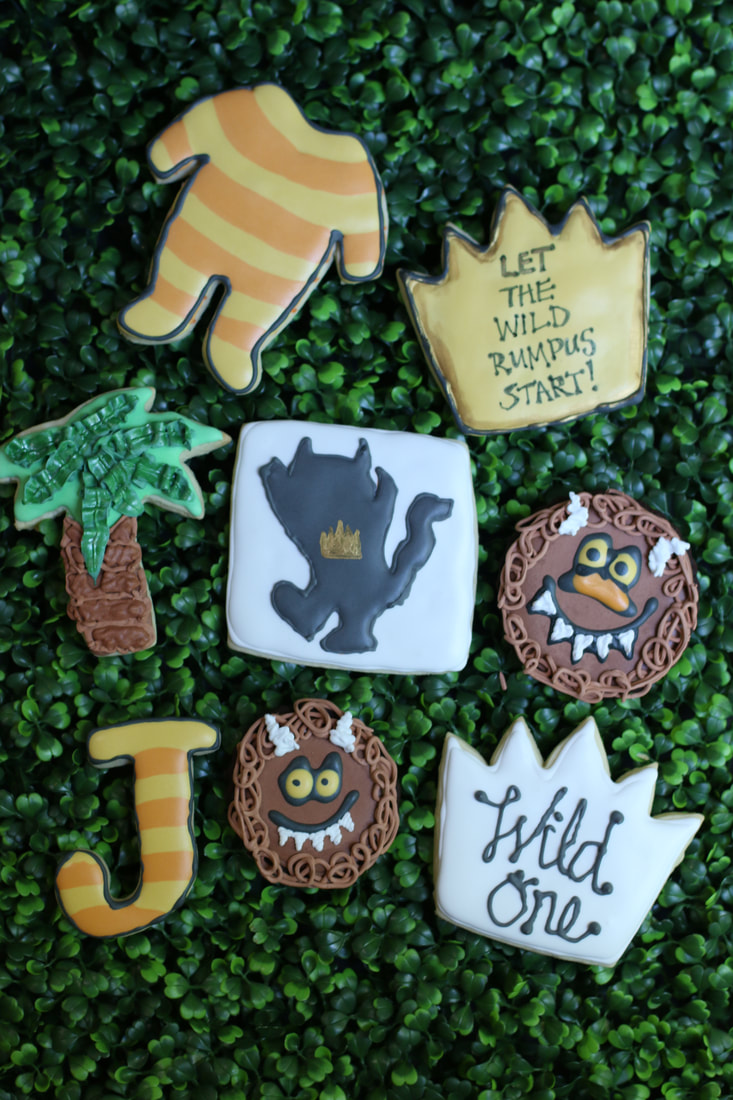 |
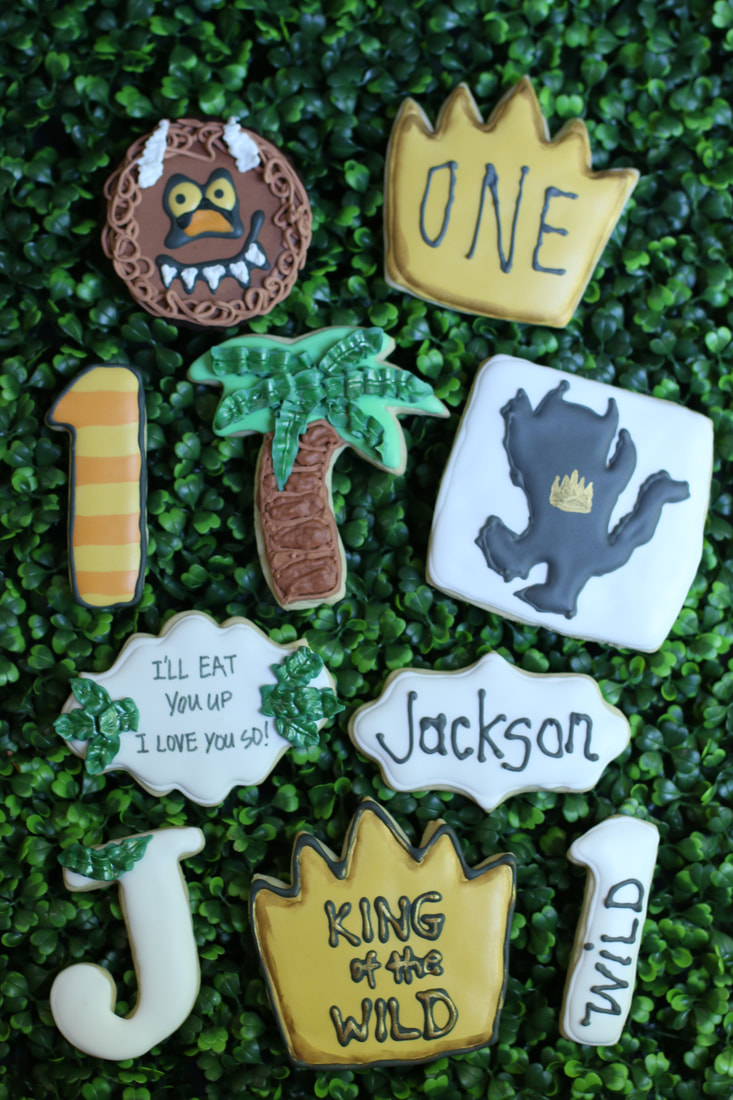
WILD ONE SUGAR COOKIES
We started baking Wild One Old-Fashioned Sugar Cookies and decorating with Easy Royal Icing, and Chocolate Sugar Cookies with Chocolate Royal Icing a month before the party. Individually wrapped in self-sealing bags, I popped these in the freezer and defrosted the day before the event. They were perfect in every way! I love it when I can prepare things ahead of time for parties and special events, and not be running around like a crazy person at the last minute!
Different sizes and different styles made these so much fun. Which one would you pick?
Different sizes and different styles made these so much fun. Which one would you pick?
 |  |
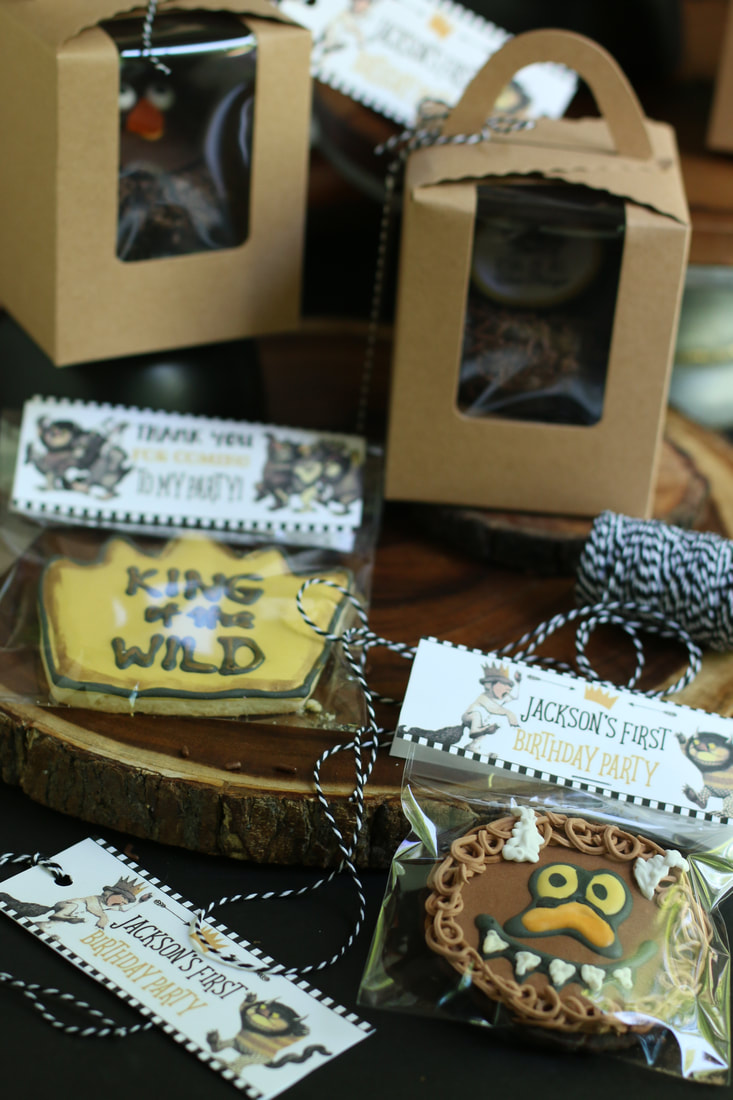
SOCIAL DISTANCING IN THE TIME OF COVID...
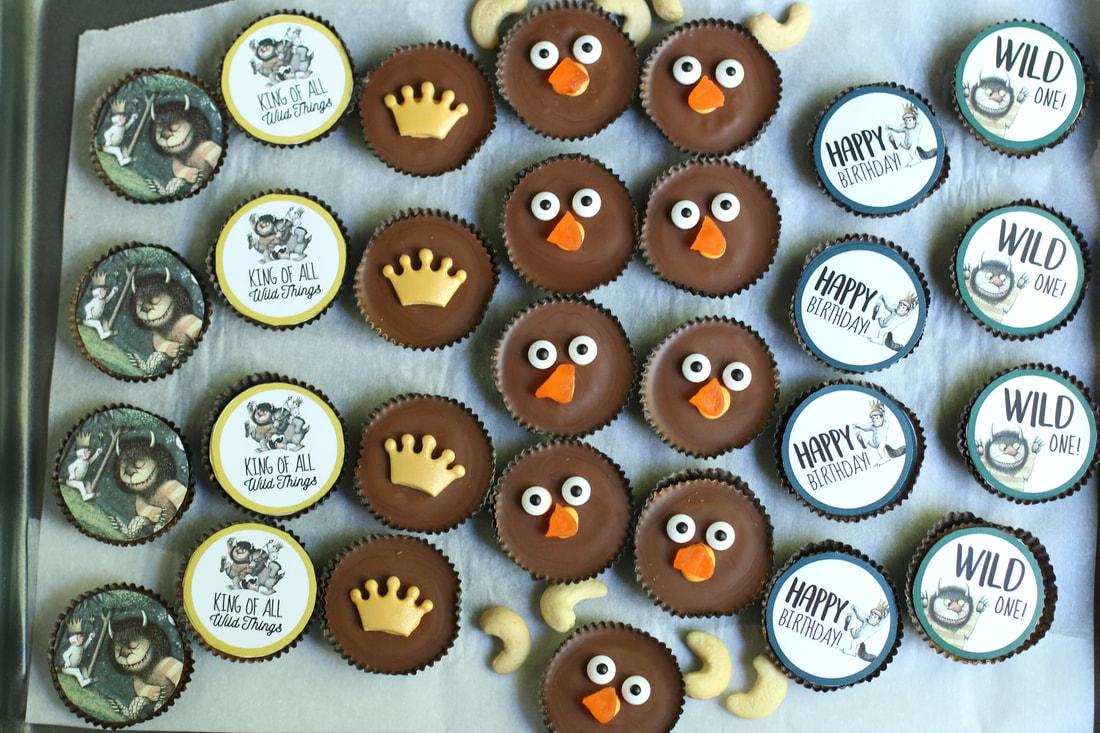
We packaged each cupcake and sugar cookie individually, and attached fun "Where The Wild Things Are" thank you toppers to each self-sealing package. It was so easy to package these the morning of the party, travel safely, and give each guest fresh and individual treats that they could pick from.
"WILD THING"
|
"Where The Wild Things Are" Old-Fashioned Sugar Cookies with Easy Royal Icing
|
INGREDIENTS:
CREAM CHEESE SUGAR COOKIES:
3 cups + 2 Tablespoons (390g) all-purpose flour
1 and 1/2 teaspoons baking powder
1/2 teaspoon salt
1 cup unsalted butter (softened to room temperature)
4 ounces block cream cheese (softened to room temperature)
1 cup (200g) granulated sugar
1 large egg (room temperature)
2 teaspoons Pure Vanilla extract
1 teaspoon Pure Almond extract
FROSTING: (for Bakery Frosting see SnowflakesandCoffeecakes.com)
EASY ROYAL ICING:
4 cups powdered sugar
3 tablespoons Wilton Meringue Powder
10-12 tablespoons water (room temperature)
AmeriColor Soft Gel Food Coloring (strongly recommended!)
FOR DECORATING: Holiday Sprinkles and Sparkling Sugar (both optional)
SPECIAL EQUIPMENT:
HOW I MAKE THESE:
YIELD: Makes about 36 (three-inch) cookies
NOTES: These cookies will stay fresh in an air-tight container at room temperature for up to 3 days or in the refrigerator for up to 1 week.
MAKE AHEAD TIP: Plain baked cookies freeze well up to 1 month. Thaw overnight in the refrigerator before decorating.
TO KEEP THESE COOKIES SOFT: I keep a slice of sandwich bread in the container to keep the cookies soft – replace every day or so, as soon as the slice of bread dries out. It’s a sweet little trick! These cookies will stay fresh in an air-tight container at room temperature for up to one week.
CREAM CHEESE SUGAR COOKIES:
3 cups + 2 Tablespoons (390g) all-purpose flour
1 and 1/2 teaspoons baking powder
1/2 teaspoon salt
1 cup unsalted butter (softened to room temperature)
4 ounces block cream cheese (softened to room temperature)
1 cup (200g) granulated sugar
1 large egg (room temperature)
2 teaspoons Pure Vanilla extract
1 teaspoon Pure Almond extract
FROSTING: (for Bakery Frosting see SnowflakesandCoffeecakes.com)
EASY ROYAL ICING:
4 cups powdered sugar
3 tablespoons Wilton Meringue Powder
10-12 tablespoons water (room temperature)
AmeriColor Soft Gel Food Coloring (strongly recommended!)
FOR DECORATING: Holiday Sprinkles and Sparkling Sugar (both optional)
SPECIAL EQUIPMENT:
- Cookie cutter(s)
- Rolling pin (wooden Joseph Joseph Rolling Pin works the BEST for these cookies!)
- Large baking sheets
- Silicone Baking Mats or Parchment Paper
- Piping Bags & Tips
HOW I MAKE THESE:
- Set butter, cream cheese and egg out to warm to room temperature.
- In a medium bowl, whisk together the flour, cornstarch, baking powder and salt; set aside.
- In a large bowl using a hand-held mixer or stand mixer fitted with a paddle attachment, beat the butter and cream cheese on medium speed until completely smooth and creamy (about 3 minutes). Add the sugar and beat on medium high speed until light and fluffy, about 2 minutes. Add in the egg, vanilla and almond extracts and beat on high speed for another minute. Scrape down the sides and bottom of the bowl as needed between additions.
- On low speed, slowly mix half of the flour mixture into the wet ingredients just until combined; add remaining flour mixture and again mix just until combined. This cookie dough will be really soft and creamy!
- Generously flour your work surface and rolling pin. Divide dough into half and place on top of a parchment paper sized for your baking pans. Roll each half to a ¼-inch thickness (you will need to re-flour your rolling pin periodically to keep the dough from sticking). The rolled-out dough can be any shape, as long as it is evenly 1/4-inch thick. We’re rolling the cookie dough out BEFORE chilling it, which isn’t typical for most sugar cookie recipes – but this is a great trick! The dough is so much easier to roll out before it’s chilled.
- Stack the pieces, with parchment paper between the two and a single piece of parchment paper on top, onto a baking sheet and refrigerate for at least 2 hours and up to overnight. Chilling is mandatory for this cookie dough, so that the cookies will keep their shape when baked.
- The next day, preheat oven to 350°. Line 2-3 large baking pans with parchment paper (I prefer parchment paper over silicone baking mats for these cookies).
- Remove one of the chilled cookie dough pieces from the refrigerator. The dough will seem very hard, but it’s softer than it appears! Immediately cut into shapes with cookie cutters that have been dipped in flour. Place each cookie about 2 inches apart on prepared baking sheets. Re-roll dough scraps until all the dough is shaped. Repeat with remaining cookie dough. Refrigerate cut cookie dough on baking sheets for 10-15 minutes before baking (this will help keep them from spreading). HELPFUL HINT: I usually place one completed pan in the refrigerator while working on cutting out the next pan, rotating between cutting, chilling and baking.
- For 3-inch cookies, bake for 11-12 minutes until VERY lightly golden around the edges. Make sure you rotate the baking sheet halfway through bake time. If your cookie cutters are smaller than 3 inches, bake for about 7-10 minutes. If your cookie cutters are larger than 3 inches, bake for about 12-13 minutes. Every oven is a little bit different, so watch your first batch when baking and time accordingly. DO NOT OVERBAKE! The cookies don’t spread much when they’re baking, so they will stay around ¼-inch thick. These are thick sugar cookies! Be sure not to overbake these as they’ll lose their softness.
- Allow cookies to cool on the baking sheet for 5 minutes. Transfer the parchment paper together with the cookies to a cooling rack to cool completely. Once completely cool, decorate with Bakery Frosting or Easy Royal Icing and sprinkles (Bakery Frosting is easier for little ones…)
- TO MAKE EASY ROYAL FROSTING: In the bowl of a stand mixer fitted with a paddle attachment, add the powdered sugar, meringue powder and 7-8 tablespoons of room-temperature water and beat on high speed for 5 minutes. (I always start with 7 to 8 tablespoons of water and usually need to add a tablespoon or two more, depending on the weather and humidity.)
- After five minutes of beating, lift the paddle up off the icing - the icing should drizzle down in a ribbon and smooth out within 10-15 seconds with the frosting in the bowl. If it's too thick, add a little more water (a teaspoon at a time). If it's too thin, add a little more sifted confectioners' sugar (a tablespoon or two at a time).
- If you haven’t made royal icing before, you maybe not be familiar that this icing crusts VERY quickly! When exposed to air icing forms a crust on the surface within 5-10 minutes.
- To prevent this from happening, you need to cover royal icing when you’re not working directly with it (for example, you’ve split the icing into separate bowls to color separately with gel food coloring). For the short term you can cover each bowl with a damp kitchen towel or damp paper towel.
- FROST & DECORATE! Pipe or frost completely cooled cookies and sprinkle with optional sprinkles or decorating sugar.
- This Easy Royal Icing completely dries overnight at room temperature. If you're layering royal icing onto cookies for specific designs and need it to set quickly, place cookies on parchment paper lined baking sheets, with a large fan blowing at low speed to circulate air over the cookies to help speed it up – you’ll need at least 1 hour between layers. This also keeps the icing shiny and prevents it from cracking or “sinking”.
- Allow frosting to set and dry completely before storing – keep parchment paper between each layer or place cookies in individual self-sealing bags for easy freezing and serving.
YIELD: Makes about 36 (three-inch) cookies
NOTES: These cookies will stay fresh in an air-tight container at room temperature for up to 3 days or in the refrigerator for up to 1 week.
MAKE AHEAD TIP: Plain baked cookies freeze well up to 1 month. Thaw overnight in the refrigerator before decorating.
TO KEEP THESE COOKIES SOFT: I keep a slice of sandwich bread in the container to keep the cookies soft – replace every day or so, as soon as the slice of bread dries out. It’s a sweet little trick! These cookies will stay fresh in an air-tight container at room temperature for up to one week.
Originally published December 2010; revised & republished October 2020.
© SnowflakesandCoffeecakes. All images, attachments & content are copyright protected. All rights reserved. Please do not use my images without prior permission. If you want to republish this recipe, please re-write the recipe in your own words, or link back to www.snowflakesandcoffeecakes.com for the recipe.
© SnowflakesandCoffeecakes. All images, attachments & content are copyright protected. All rights reserved. Please do not use my images without prior permission. If you want to republish this recipe, please re-write the recipe in your own words, or link back to www.snowflakesandcoffeecakes.com for the recipe.
NEVER MISS A NEW RECIPE! FOLLOW ME ON
FACEBOOK, INSTAGRAM & PINTEREST!
YOU MAY ALSO LIKE...
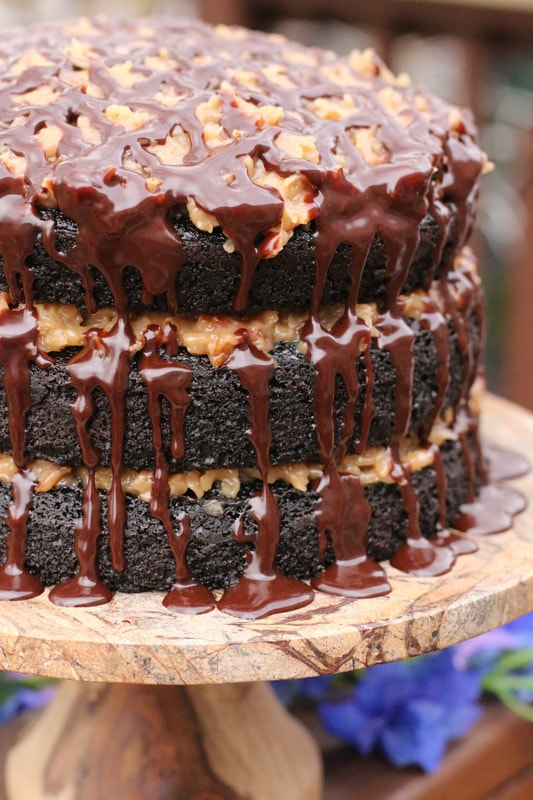
World's Best German Chocolate Cake
|
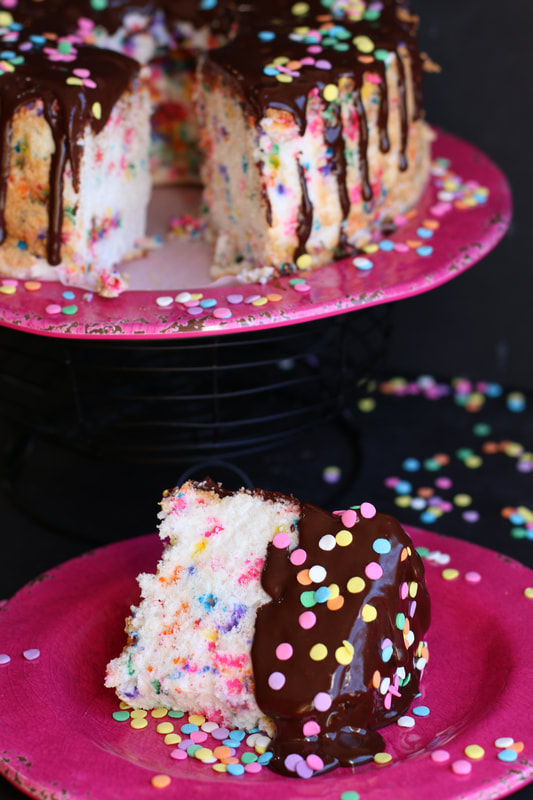
Confetti Angel Food Cake with Chocolate Ganache
|
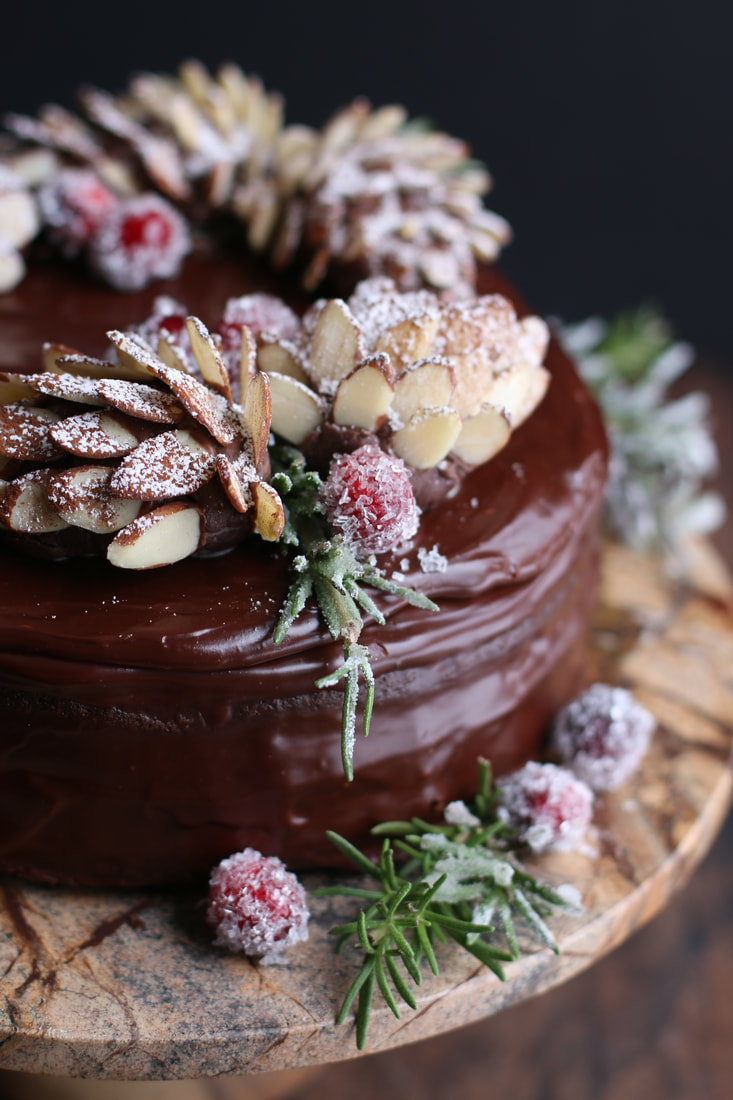
Winter Celebration Cake
|
0 Comments
Leave a Reply.


WELCOME!
HI, I’M MAMA V! I'm so happy you stopped by to visit this delicious corner of the internet! This is the place to find family favorite and kitchen-tested quality recipes, along with photographs and tips to give you the confidence to cook and bake from scratch.
You'll find a complete recipe index on the Recipe Collection page or you can use the Recipe Collection dropdown feature to see a visual recipe index by category. If you are looking for something special, the Search function will easily locate your favorite recipe or ingredients. Enjoy - and stop by often!
You'll find a complete recipe index on the Recipe Collection page or you can use the Recipe Collection dropdown feature to see a visual recipe index by category. If you are looking for something special, the Search function will easily locate your favorite recipe or ingredients. Enjoy - and stop by often!
LOOKING FOR SOMETHING SPECIAL?
Type in the name of recipe, category or any ingredient to search my recipe database.
LET'S CONNECT!
Never miss a recipe! Please click to follow me on:
 RSS Feed
google0c2f49157236fe49
