|
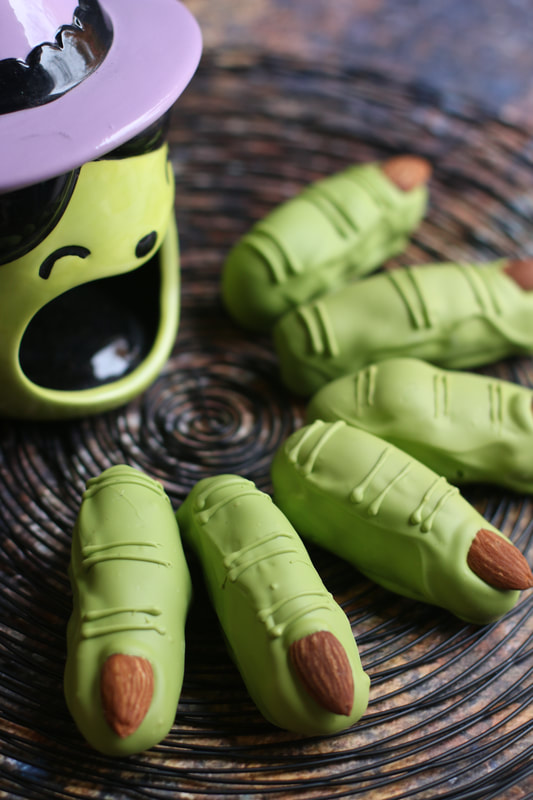
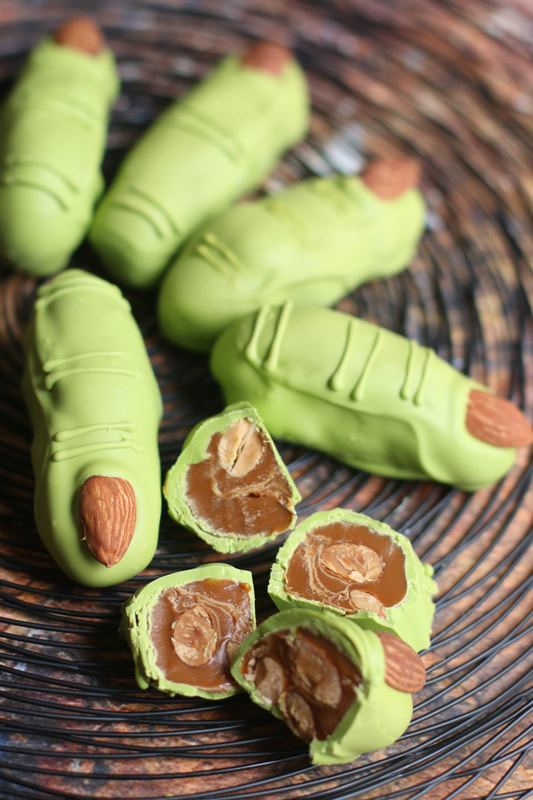
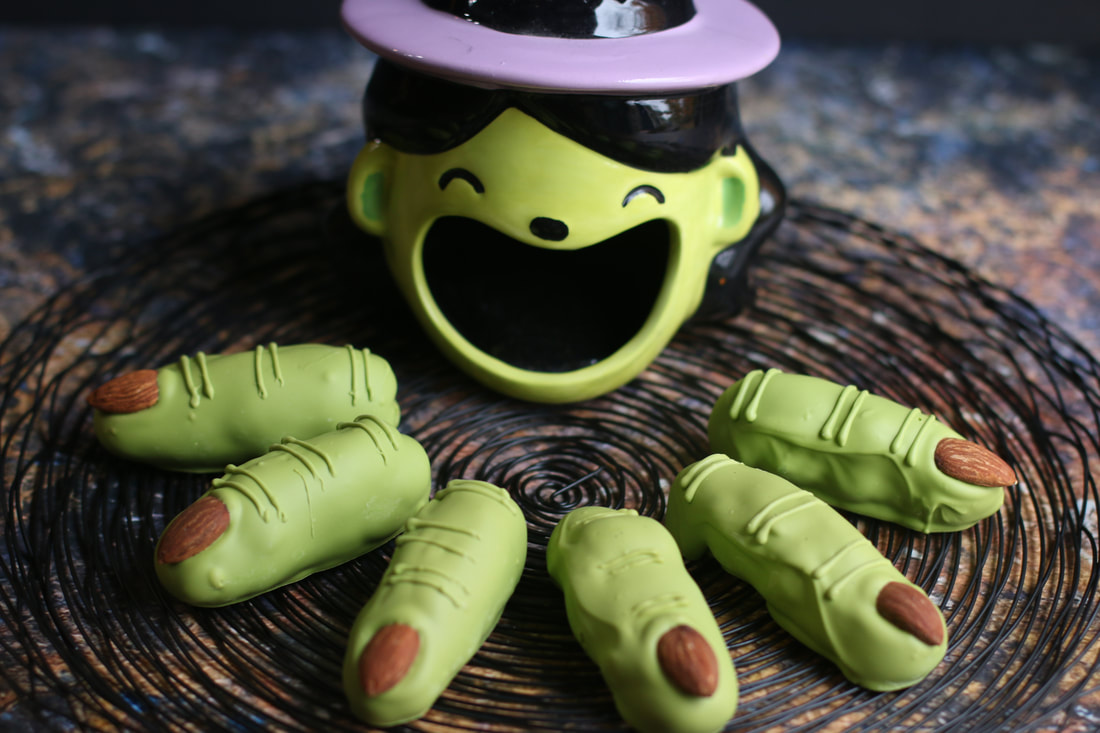
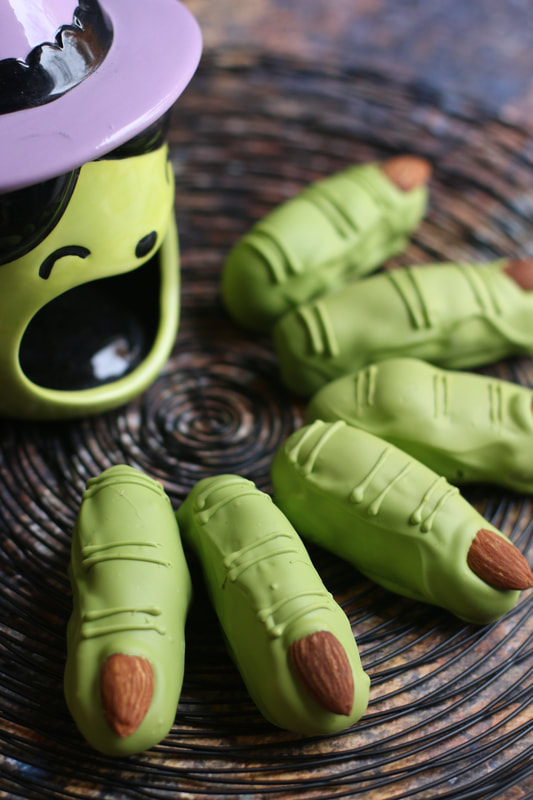
Halloween Witch Fingers – homemade caramel and almond candy that is scary good! These sweet “fingers” are a gruesome and spooky addition to a Halloween party. Filled with luscious homemade caramel and crunchy almond “bones”, these are a favorite Halloween treat! Kids absolutely love making these as much as the “big kids” love eating them! These treats are super simple to make, but they do take a little bit of time to prepare. I allow one day to make the caramel, and the next day after the luscious homemade caramel is "set", it's time to roll the fingers, dip them in chocolate, add a crunchy fingernail, and drizzle some knuckles. Hope you enjoy these sweet and spooky treats as much as we do!
INGREDIENTS:
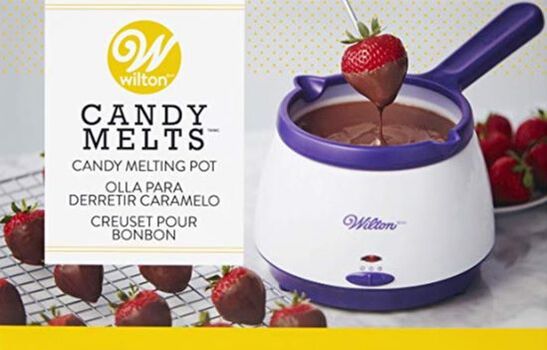
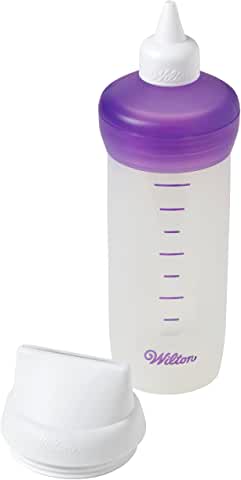
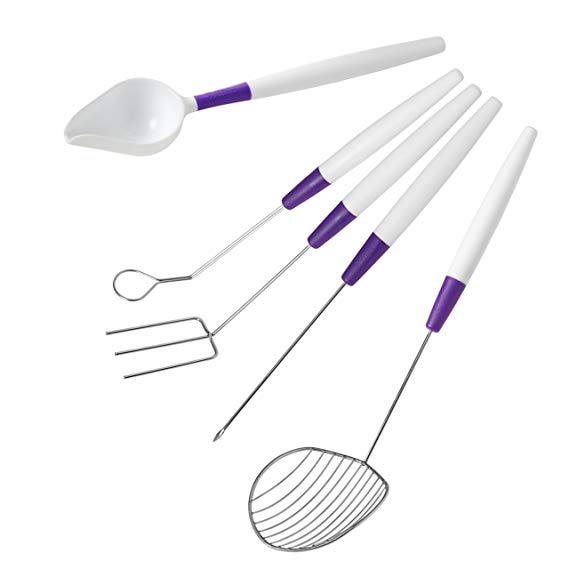
1 and 1/2 cups (355ml) heavy cream 1 cup (200g) granulated sugar 1/2 cup (100g) packed light brown sugar 1/3 cup (80ml) light corn syrup 1 teaspoon salt 1-1/2 teaspoons pure vanilla bean paste 1 Tablespoon (14g) unsalted butter (softened) (plus more for lightly buttering the pan) 16 oz. (1-1/2 bags) Wilton Candy Melts (green) 2 cups whole almonds HOW I MAKE THESE: 1. *Line an 8-inch square baking pan with aluminum foil, leaving enough overhang on the sides to easily remove the caramel once it has set. Lightly grease the foil with butter. Sprinkle 1 cup whole almonds on the bottom of the pan, trying to line them up in lines 1 inch apart, starting ½ inch from the edge of the pan (these will be the “bones” in your candy). 2. Combine the cream, granulated sugar, brown sugar, and corn syrup in a 3-quart heavy duty saucepan over medium heat. Using a wooden spoon, stir constantly as the sugars dissolve. The mixture will be thick and cloudy looking. 3. Once boiling, brush down the sides of the pan with a water-moistened pastry brush. Attach a candy thermometer to the pan, making sure not to let it touch the bottom. 4. Without stirring, cook until the temperature reaches 245°F. Immediately remove pan from heat and stir in 1 teaspoon of salt, the vanilla bean paste, and butter. The mixture may burst and bubble, so be careful stirring. 5. Pour the hot caramel into the prepared baking pan. Chill in refrigerator until firm to the touch throughout. (You can also cool at room temperature overnight.) 6. Line a large baking sheet with parchment paper and set aside. 7. Once the caramel is set, remove the caramel from the pan by lifting out the aluminum foil. Peel the foil off and, using a very sharp knife, cut into 1-inch by 3-inch rectangles (finger-sized). 8. Using your fingers, roll and shape each caramel rectangle into a finger shape with over-sized knuckles, and place on prepared pan. Chill for at least one hour. 9. Melt candy melts according to package directions. You can use green candy melts alone or as a base and just throw in a few white, brown or black candy melts until your chocolate is your perfect shade of witchy green! 10. Remove caramel fingers from the refrigerator, and using two forks, carefully dip each caramel finger into the melted chocolate; allow excess chocolate to drip off, then place back on baking sheet. 11. Immediately place a whole almond on the top of each finger so that it looks like a finger nail. Chill for one hour in the refrigerator. 12. Warm up leftover candy melt mixture and pour into a plastic decorating bottle with a small round tip. Carefully squeeze fine lines of candy melt vertically across each caramel finger at each knuckle location, and around the inside edge of the almond fingernail (so that it looks like it is surrounded by “skin”). Chill until firm. 13. You can serve these caramel fingers “whole”, or slice into pieces. The white chocolate coating does help the caramels keep their shape, but for best results, refrigerate until you are ready to serve. YIELD: about 20 individual fingers RECIPE NOTES*: If you are able to locate a Wilton Witch Finger Cookie Pan, things are a whole lot easier! Simply place three whole almonds in each pan opening and pour warm caramel to the top of each individual finger mold. Chill until firm and then pop out of the pan. If you don’t have this pan, don’t despair! So easy to roll and shape by hand and these are so much fun to serve at Halloween parties! For dipping, I use a Wilton Candy Melts Candy Melting Pot and candy decorating dipping tools, and a Wilton Candy Melt-N-Decorate Bottle for drizzling on top – they really do make the decorating easier if you have them! © SnowflakesandCoffeecakes. All images, attachments & content are copyright protected. All rights reserved. Please do not use my images without prior permission. If you want to republish this recipe, please re-write the recipe in your own words, or link back to www.snowflakesandcoffeecakes.com for the recipe. HELPFUL SPECIAL EQUIPMENT...
0 Comments
Leave a Reply. |
WELCOME!HI, I’M MAMA V! I'm so happy you stopped by to visit this delicious corner of the internet! This is the place to find family favorite and kitchen-tested quality recipes, along with photographs and tips to give you the confidence to cook and bake from scratch.
You'll find a complete recipe index on the Recipe Collection page or you can use the Recipe Collection dropdown feature to see a visual recipe index by category. If you are looking for something special, the Search function will easily locate your favorite recipe or ingredients. Enjoy - and stop by often! LOOKING FOR SOMETHING SPECIAL?Type in the name of recipe, category or any ingredient to search my recipe database. This website uses marketing and tracking technologies. Opting out of this will opt you out of all cookies, except for those needed to run the website. Note that some products may not work as well without tracking cookies. Opt Out of Cookiesgoogle0c2f49157236fe49
|
- Welcome
- Blog
- About
-
Recipe Collection
- Appetizers & Charcuterie Boards
- Bakery & Sweet Shop >
- Beverages
- Breakfast & Brunch >
- Fruits >
- The Main Event >
- Salads
- Sauces, Spices & Glazes
- Side Dishes
- Vegetables
-
Holidays & Special Celebrations
>
- Sleighrides & Cocoa Parties
- Valentines
- Mardi Gras
- St. Patrick's Day
- Easter
- Cinco de Mayo
- Kentucky Derby
- Garden Teas
- Patriotic
- Fathers' Day
- Halloween
- Football & SuperBowl
- Thanksgiving
- Christmas Traditions >
- New Year Celebration
- Baby Showers
- Bridal Showers & Weddings
- Birthday Parties
- Rehearsal Dinners & Day-After-Brunches
- Seasonal Favorites >
- Cooking School
- GARDENING
- Contact
Copyright Statement© Snowflakes & Coffeecakes 2024. All rights reserved.
All images & content are copyright protected. Please do not use any of my images without prior permission. Unauthorized use and/or duplication of this material without express and written permission from this site’s owner is strictly prohibited. Thank you for visiting! I hope that you enjoyed your stay, and have found some recipes that your family will enjoy! Have any questions or comments? Feel free to contact me! Bon Appétit, Mama V |




 RSS Feed

