
Fruit of The Forest Pie
Once upon a time Sara Lee made a frozen Fruit of the Forest Pie...and it was very, very good. And then it went away, and everyone was very sad. But fortunately the story does not end there!
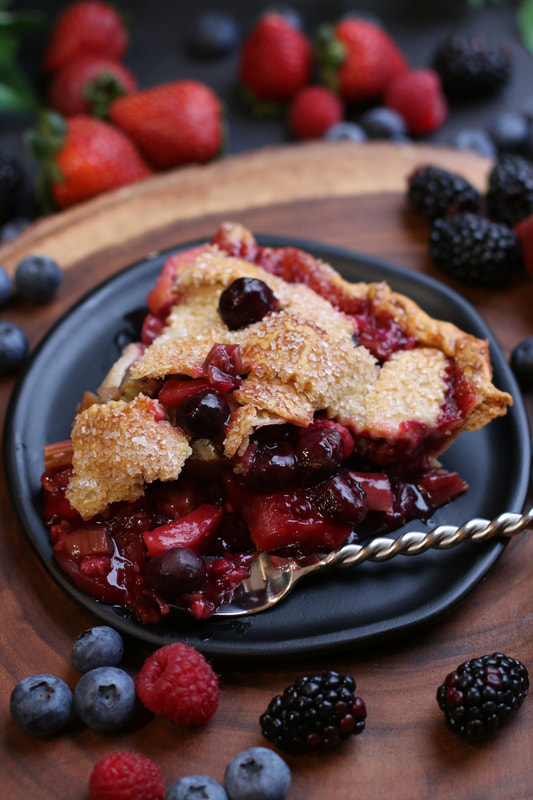
The combination of apple slices, rhubarb and summer berries is one of the best fruit combinations ever, and it needed to live on! Some call this "Fruit of the Forest Pie", but I also call it "Fruit of the Garden Pie", because I always save a secret stash of the best rhubarb, raspberries, strawberries and blueberries from our garden for this traditional Thanksgiving Pie. I know that makes it extra special for us, but it is the most colorful and delicious pie - always a special family favorite at Thanksgiving, or any other time I bake one! 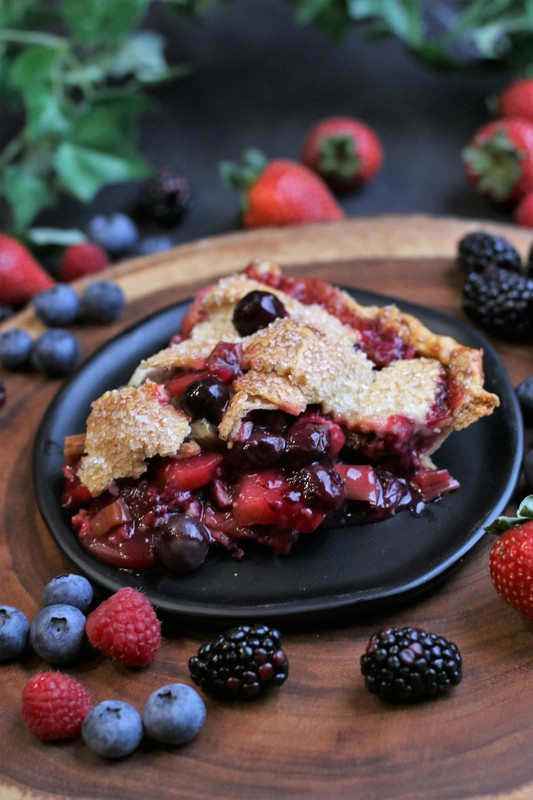
Fruit of the Forest Pie
This is truly a deep dish pie - so get your favorite deep dish pie plates out and let the fun begin!
Over the years I've learned that you can either slice the apples up REALLY thin, but my preferred method is to pre-cook the apple slices on the stove until they just begin to get tender. There's nothing harder than waiting for apple slices to bake up tender in a pie, and this little trick will save you that angst. It also will keep your top pie crust or lattice from baking high above the fruit filling and collapsing when the pie cools. While your apple slices are cooling down, combine the rhubarb, strawberries, raspberries, blueberries and blackberries in a large bowl. You can mix and match the fruit to your liking, but this is our favorite fruit combination. And very traditional!
You may as well save yourself a lot of fighting and make two of these at a time, because everyone will be fighting over the last piece or two!
And now you can be happy that you have the secret to one of the best Thanksgiving pies around! I'm always amazed that it is more popular that pumpkin, pecan or apple pie...but you'll have to let me know how much you love this pie! 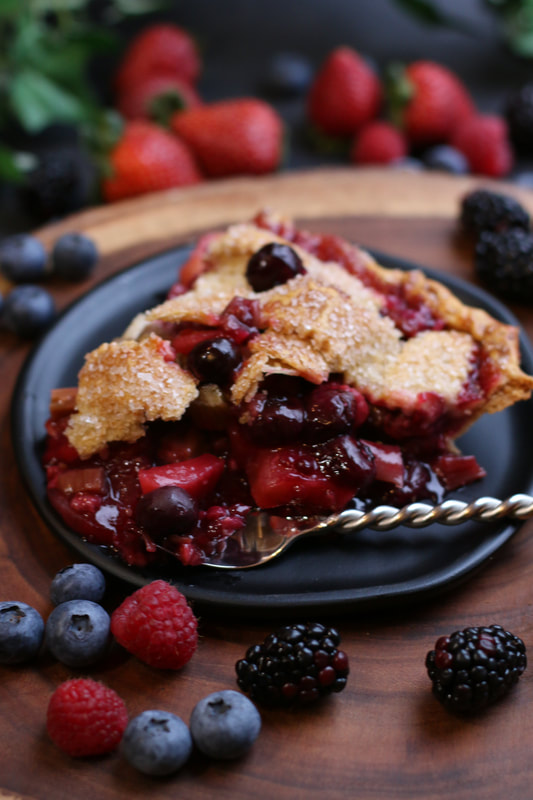
Snowflakes & Coffeecakes Fruit of the Forest Pie
INGREDIENTS:
2 pie crusts (homemade or refrigerated) 2 large apples (I use sugar crisp or granny smith) (peeled, cored and thinly sliced) ¼ cup fresh lemon juice 1 cup (200g) sugar ½ cup (64g) cornstarch 1 teaspoon cinnamon 2 cups rhubarb (sliced) 1 cup strawberries (sliced) 1 cup raspberries 1 cup blueberries 1 cup blackberries 3 tablespoons cold butter (sliced) Egg Wash: 1 large egg + 1 tablespoon milk Sugar or sparkling sugar (optional) HOW I MAKE THIS:
Original recipe published November 2010; revised and reposted November 2018 and April 2024.
© SnowflakesandCoffeecakes. All images, attachments & content are copyright protected. All rights reserved. Please do not use my images without prior permission. If you want to republish this recipe, please re-write the recipe in your own words, or link back to www.snowflakesandcoffeecakes.com for the recipe. Tried it and loved it? Snap a picture and share it with me on Instagram @SnowflakesandCoffeecakes and by using the hashtag #SnowflakesandCoffeecakes NEVER MISS A NEW RECIPE! FOLLOW SNOWFLAKES & COFFEECAKES ON FACEBOOK, INSTAGRAM & PINTEREST!
0 Comments
Leave a Reply. |

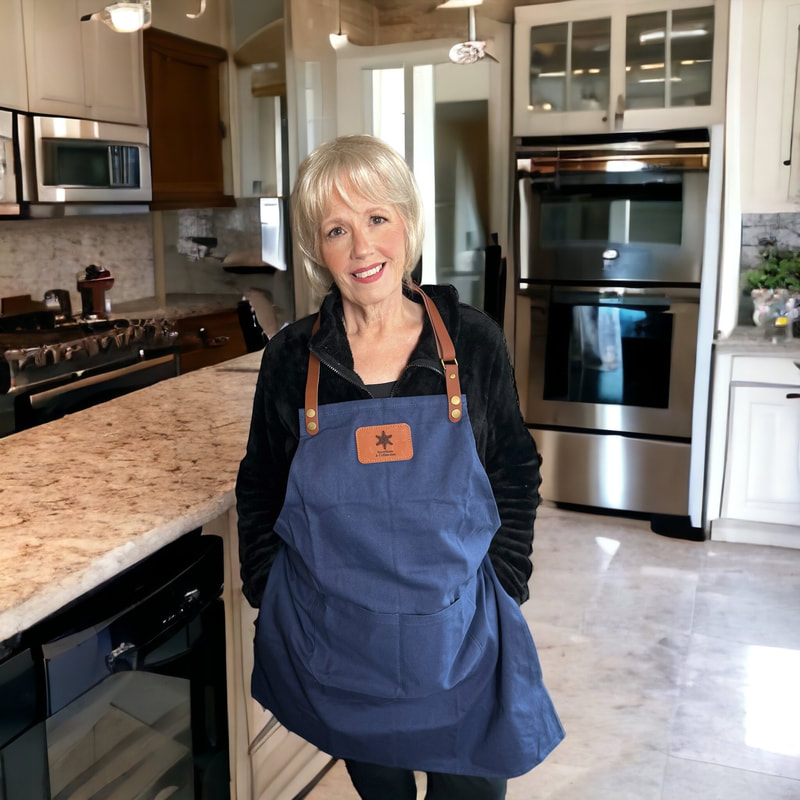
WELCOME!HI, I’M MAMA V! I'm so happy you stopped by to visit this delicious corner of the internet! This is the place to find family favorite and kitchen-tested quality recipes, along with photographs and tips to give you the confidence to cook and bake from scratch.
You'll find a complete recipe index on the Recipe Collection page or you can use the Recipe Collection dropdown feature to see a visual recipe index by category. If you are looking for something special, the Search function will easily locate your favorite recipe or ingredients. Enjoy - and stop by often! LOOKING FOR SOMETHING SPECIAL?Type in the name of recipe, category or any ingredient to search my recipe database. LET'S CONNECT!Never miss a recipe! Please click to follow me on:
google0c2f49157236fe49
|

 RSS Feed
Copyright Statement© Snowflakes & Coffeecakes 2024. All rights reserved.
All images & content are copyright protected. Please do not use any of my images without prior permission. Unauthorized use and/or duplication of this material without express and written permission from this site’s owner is strictly prohibited. Thank you for visiting! I hope that you enjoyed your stay, and have found some recipes that your family will enjoy! Have any questions or comments? Feel free to contact me! Bon Appétit, Mama V |

|