|
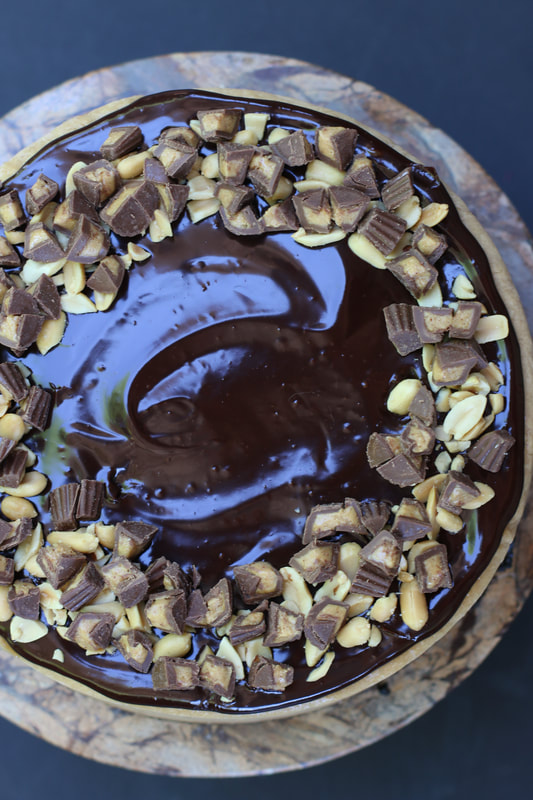
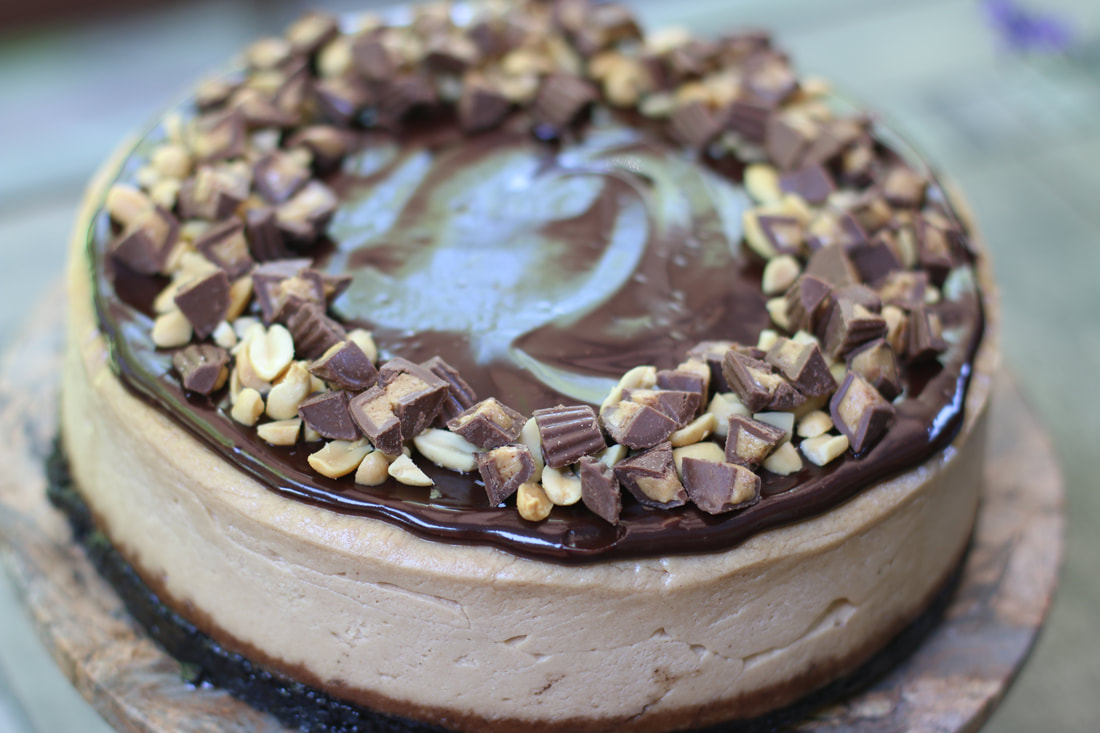
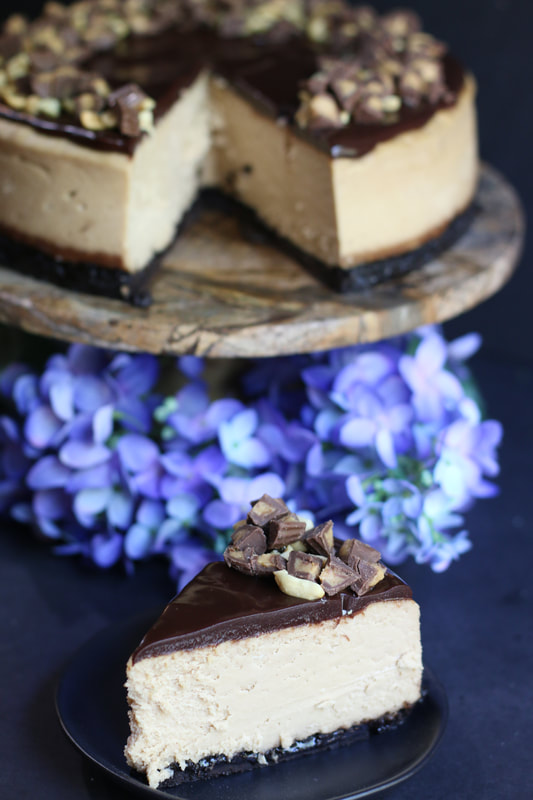
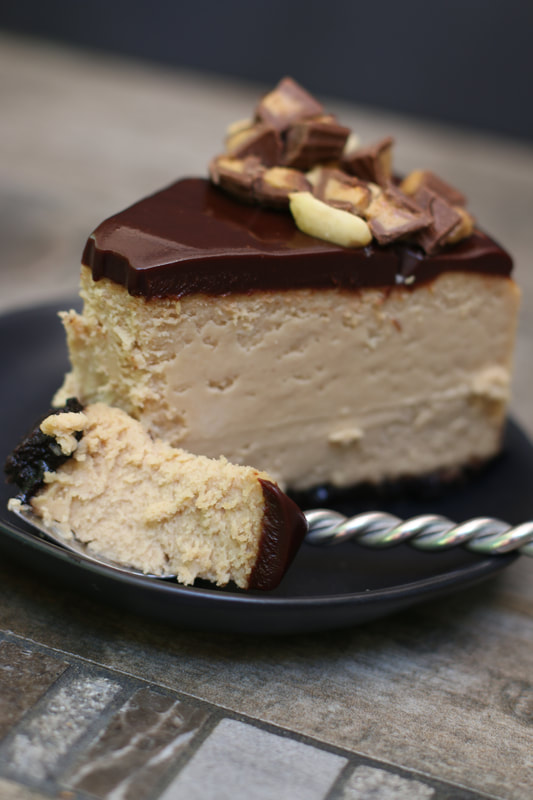
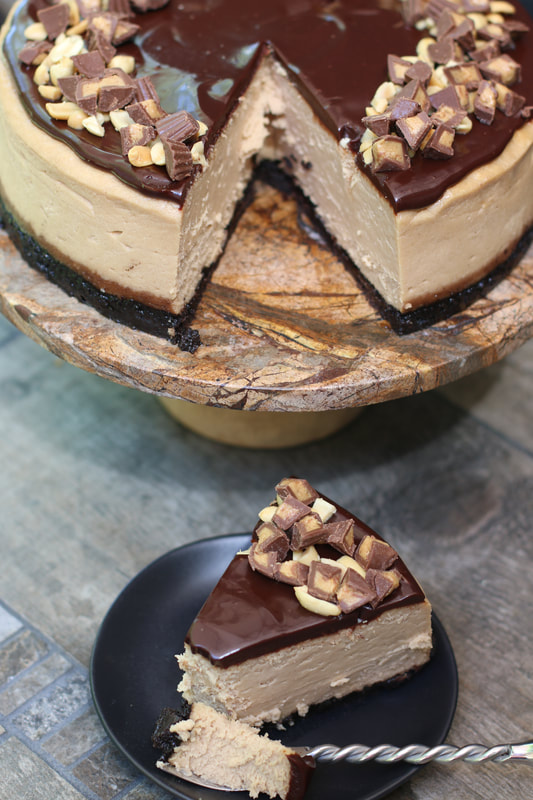
If you love chocolate and peanut butter, and especially if you love Reese's Peanut Butter Cups, don't say that I didn't warn you! We had a special birthday to celebrate this weekend, and Chocolate Peanut Butter Cheesecake is a favorite! I think of this as the "ultimate" peanut butter cheesecake. Starting with a Chocolate Peanut Butter Oreo Cookie crust, layered with a rich and smooth peanut butter cheesecake filling, topped with a luscious chocolate ganache, and finally sprinkled with chopped roasted peanuts and Reese's Peanut Butter Cup chunks, this is one that you just need to take one bite of to experience. And fall in love with! Every single person lining up for this told me they wanted a BIG piece. And I warned them. It is so rich, that just a thin little slice really is just about right. Not one of them could finish off a "regular" sized slice of this decadent cheesecake! My refrigerator was filled with half a dozen plates of this, all covered up with plastic wrap and notes warning "DO NOT TOUCH"... In a house filled with peanut butter lovers, they were taking this Chocolate Peanut Butter Cheesecake VERY seriously! So easy to make too. A few simple tricks and a technique that guarantees a crack-free cheesecake bake. This is a special dessert that can easily be made a day or two ahead of when you plan to serve it. I love the flexibility of that, so that there aren't too many last minute things to be done the day of or right before a party. I've used both regular Oreo Cookies and chocolate-filled Oreo Cookies, and they both work great for this recipe. And yes, you will use the filling of the cookies - no need to scrape that off before you make your cookie crumbs. If you really want to amp up the peanut butter flavor, you can also use Nutter Butter Cookies for the crust - just keep in mind that you will have a light golden base rather than the dark chocolate one. Also note that I recommend using fresh roasted peanuts to garnish the top - they have so much more flavor and texture than dry roasted peanuts. You can use any size Reese Peanut Butter Cups for the garnish as well - big ones, little ones - whatever you prefer! If you want to add a little autumn color to this, you could also sprinkle a few Reese's Pieces around the edges too. I hope you'll give this one a try - it really is a show-stopper and one of our family favorites!
HOW I MAKE THIS:
1. Take cream cheese, sour cream and eggs out of the fridge to come to room temperature. 2. Preheat oven to 350 degrees and place rack in center of oven. Line the bottom of a 9 or 10 inch springform pan with parchment paper (this will make it easier to serve). Spray inside of pan with non-stick cooking spray. 3. Prepare Crust: Pulse entire Oreo cookies in a food processor or blender until you have fine crumbs. Combine cookie crumbs and salt in a medium bowl and stir to combine, then pour in melted butter and mix with a fork until evenly moistened – it will have the consistency of moist sand. Pour into prepared springform pan and press firmly and evenly into bottom of pan. Bake in preheated oven 8 minutes, then remove from oven and place in the middle of a sheet of aluminum foil; set aside. 4. Prepare Peanut Butter Cheesecake Filling: In a large mixing bowl fitted with a paddle attachment, blend together cream cheese and sugar on medium speed for about 2 minutes, or until smooth and creamy (scrape down side and bottom of bowl occasionally throughout entire mixing process). Blend in the peanut butter until smooth. Add sour cream and vanilla, blend just until combined. Add in the eggs one at a time, beating after each addition on medium speed until just combined. To keep your cheesecake from cracking and/or deflating, DO NOT OVERBEAT when adding the eggs. 5. Tap bottom of bowl forcefully on a kitchen towel on your countertop about 30 times to release any large air bubbles and let the mixture rest for 5 minutes. While filling is resting, move on to the next steps. 6. Prepare Water Bath: Boil 3 to 4 quarts of water – you probably won’t need all of it. 7. Maintain oven temperature of 350 degrees. Have a large roasting pan ready that your springform pan fits into – with at least a 2-inch clearance all around. Pull the sides of the aluminum foil up around the outside of the pan (make sure the foil has no holes). Carefully place your springform pan with the cookie crumb crust INSIDE the cooking bag. Tie the top of the bag into two knots (at opposite sides at the top of the pan) to pull in the sides of the bag, being carefully so that the bag surrounds the entire pan, but doesn’t cover the top of the pan. Remember – you are trying to create a barrier so that no water will leak into your springform pan while you are baking your cheesecake! 8. Carefully pour Peanut Butter Cheesecake Filling into crust; carefully place roasting pan in oven; and carefully pour in enough boiling water around cheesecake pan to reach halfway up the side of the cheesecake pan. 9. Bake in preheated oven until cheesecake is nearly set but still slightly wobbly in the center, about 60 - 70 minutes (this will depend on the size of your springform pan as well). When baking time is up, turn your oven off and crack the oven door open for an hour. Do not disturb the cheesecake during this time! 10. Remove from oven and remove springform pan from the water bath, removing cooking bag and placing on a wire rack to cool for 1 hour. If necessary, run a thin-bladed knife around the edge of the cake to make sure it’s not sticking to the sides (which can cause cracks as it cools). 11. Cover with plastic wrap and chill in refrigerator at least 8 hours or overnight – DO NOT SKIP THIS STEP! 12. PREPARE GANACHE: Bring the heavy cream to a low boil over medium-high heat. Pour the warm cream over the chopped chocolate in a medium bowl and let sit for 5 minutes. Whisk gently until combined and shiny. Pour the ganache over the top of the cheesecake and smooth the top evenly with an offset spatula. Sprinkle with chopped peanuts and pieces of chopped Reese’s Peanut Butter Cups. Refrigerate for 20 minutes or until the ganache has set. 13. Just before serving: The edges of the cheesecake have probably loosened from the pan while it was chilling, if not, run a thin blade around the edge; remove the rim. 14. To serve, using a clean sharp knife, cut into wedges. For neat slices, wipe the knife clean between each slice. 15. Store leftover cheesecake covered in refrigerator for up to 5 days. YIELD: 16-20 Servings Originally posted June 2013, Revised and Reposted May 2018. © SnowflakesandCofeecakes. All images, attachments & content are copyright protected. All rights reserved. Please do not use my images without prior permission. If you want to republish this recipe, please re-write the recipe in your own words, or link back to www.snowflakesandcoffeecakes.com for the recipe.
2 Comments
Lauren
5/31/2018 04:15:05 pm
You're killing me....
Reply
Lori
5/31/2018 09:21:12 pm
This looks so good! I will try it this weekend.
Reply
Leave a Reply. |
WELCOME!HI, I’M MAMA V! I'm so happy you stopped by to visit this delicious corner of the internet! This is the place to find family favorite and kitchen-tested quality recipes, along with photographs and tips to give you the confidence to cook and bake from scratch.
You'll find a complete recipe index on the Recipe Collection page or you can use the Recipe Collection dropdown feature to see a visual recipe index by category. If you are looking for something special, the Search function will easily locate your favorite recipe or ingredients. Enjoy - and stop by often! LOOKING FOR SOMETHING SPECIAL?Type in the name of recipe, category or any ingredient to search my recipe database. This website uses marketing and tracking technologies. Opting out of this will opt you out of all cookies, except for those needed to run the website. Note that some products may not work as well without tracking cookies. Opt Out of Cookiesgoogle0c2f49157236fe49
|
- Welcome
- Blog
- About
-
Recipe Collection
- Appetizers & Charcuterie Boards
- Bakery & Sweet Shop >
- Beverages
- Breakfast & Brunch >
- Fruits >
- The Main Event >
- Salads
- Sauces, Spices & Glazes
- Side Dishes
- Vegetables
-
Holidays & Special Celebrations
>
- Sleighrides & Cocoa Parties
- Valentines
- Mardi Gras
- St. Patrick's Day
- Easter
- Cinco de Mayo
- Kentucky Derby
- Garden Teas
- Patriotic
- Fathers' Day
- Halloween
- Football & SuperBowl
- Thanksgiving
- Christmas Traditions >
- New Year Celebration
- Baby Showers
- Bridal Showers & Weddings
- Birthday Parties
- Rehearsal Dinners & Day-After-Brunches
- Seasonal Favorites >
- Cooking School
- GARDENING
- Contact
Copyright Statement© Snowflakes & Coffeecakes 2024. All rights reserved.
All images & content are copyright protected. Please do not use any of my images without prior permission. Unauthorized use and/or duplication of this material without express and written permission from this site’s owner is strictly prohibited. Thank you for visiting! I hope that you enjoyed your stay, and have found some recipes that your family will enjoy! Have any questions or comments? Feel free to contact me! Bon Appétit, Mama V |







 RSS Feed

