
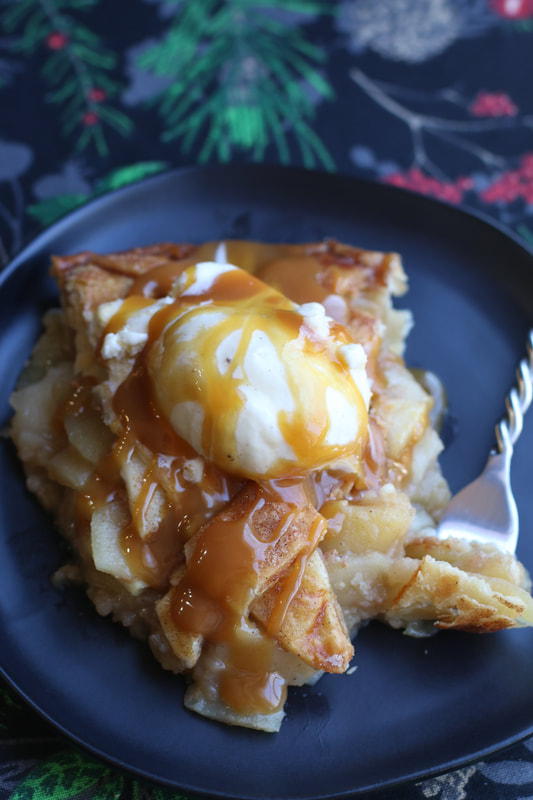
 Salted Caramel Apple Pie The only thing better than Classic Apple Pie is Salted Caramel Apple Pie! This modern twist on an All-American favorite is a mixture of sweet and salty, with tender apples covered in a rich buttery caramel filling, and a tender and flaky crust – a combination that creates a truly remarkable dessert that is a taste sensation like no other! Perfect by itself or topped with a scoop of vanilla bean ice cream and drizzled with warm caramel sauce, this incredible apple pie is a family favorite recipe!  Salted Caramel Apple Pie So now that apple season has arrived, it's time to get baking! RUN and get some of your favorite apples - it looks like it is going to be a perfect weekend to visit the apple orchard and pick some local varieties of fresh apples. I typically use a variety of tart applies (granny smith) and sweet apples (braeburn, honey crisp) so that you will get a layered flavor in the pie of each unique apple. Hard to describe, but it makes such a difference when you combine several varieties of applies in your pies and crisps! I used to think that there was no way to improve on my homemade and classic Apple Pie, that was until I tweaked the recipe just a bit and created my Salted Caramel Apple Pie, using homemade Salted Caramel Sauce. And now enters Apple Cider Caramel Sauce....it just keeps getting better and better! Which leaves the decision-making up to you, because both Salted Caramel Sauce and Apple Cider Caramel Sauce are absolutely PERFECT in and drizzled over the top of this warm and delicious pie! One of my secrets to making a thick apple pie that doesn't have too much "juice" in it and doesn't get watery as it sits? I pre-cook the apple slices, and then use just the thick cinnamon-sugar tender cooked apples in the pie shell itself, leaving the excess apple juices cooling on a baking pan to be used for all kinds of other wonderful things. (The excess cooked apple juice is pretty wonderful drizzled on ice cream, cottage cheese or yogurt.) 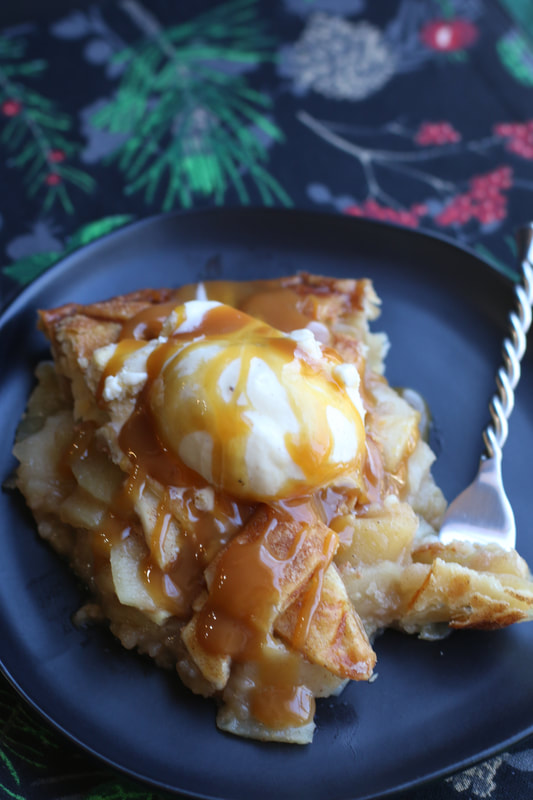 Salted Caramel Apple Pie You'll have to let me know which way you go and what you decide - is the Salted Caramel Sauce OR the Apple Cider Caramel Sauce the best? And did I mention that this pie is perfect with a scoop of fresh vanilla or butter pecan ice cream? I'm just sayin.... So many choices to make, I'll just have to keep baking these pies until we can decide....YUM!
INGREDIENTS:
2 pie crusts (homemade or refrigerated) 5 cups (625g) Granny Smith apples 5 cups (625g) Braeburn or Honey Crisp apples 1/2 cup (100g) granulated sugar 1/4 cup (31g) light or dark brown sugar 1-1/2 teaspoons ground cinnamon 1/8 teaspoon ground cloves 1/8 teaspoon ground nutmeg ¼ teaspoon salt ¼ cup fresh lemon juice ½ tsp grated lemon zest 1/4 cup (31g) all-purpose flour 1 cup salted caramel sauce (divided) Egg Wash: 1 large egg + 1 Tablespoon milk Sparkling sugar for topping HOW I MAKE THIS:
0 Comments
Leave a Reply. |


WELCOME!HI, I’M MAMA V! I'm so happy you stopped by to visit this delicious corner of the internet! This is the place to find family favorite and kitchen-tested quality recipes, along with photographs and tips to give you the confidence to cook and bake from scratch.
You'll find a complete recipe index on the Recipe Collection page or you can use the Recipe Collection dropdown feature to see a visual recipe index by category. If you are looking for something special, the Search function will easily locate your favorite recipe or ingredients. Enjoy - and stop by often! LOOKING FOR SOMETHING SPECIAL?Type in the name of recipe, category or any ingredient to search my recipe database. LET'S CONNECT!Never miss a recipe! Please click to follow me on:
google0c2f49157236fe49
|

 RSS Feed
Copyright Statement© Snowflakes & Coffeecakes 2024. All rights reserved.
All images & content are copyright protected. Please do not use any of my images without prior permission. Unauthorized use and/or duplication of this material without express and written permission from this site’s owner is strictly prohibited. Thank you for visiting! I hope that you enjoyed your stay, and have found some recipes that your family will enjoy! Have any questions or comments? Feel free to contact me! Bon Appétit, Mama V |

|